Table of Contents
#1 – Setting Up Visual Studio for AWS Development
An AWS Lambda function is just a piece of code that runs, it can be as simple as returning a text message, or accessing data from a database and returning a JSON or as complex as a series of connected lambada functions with SNS and SQS (Simple Notification Service, Simple Queue Service).
The Lambda functions are marketed as Serverless, they are not really serverless, but the code is only cached and executed upon request and remains cached for a period of time. The big benefit of this is the owner only gets charged for the execution time, and since each execution costs $0.004 the real cost of a lambda is very inexpensive unless the number of requests ends of being million and which points its checker to spin up an EC2 instance to run your Rest API’s from.
Let’s get started.
AWS Tool Kit for Visual Studio 2017 – 2019
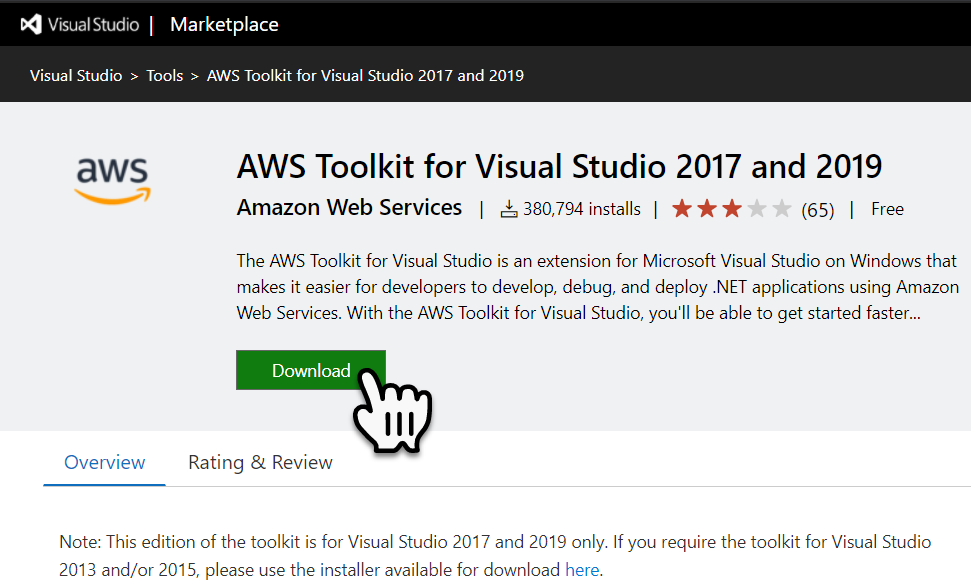
The following link, will allow you to download the AWS Tool Kit for Visual Studio 2017 -2019.
https://marketplace.visualstudio.com/items?itemName=AmazonWebServices.AWSToolkitforVisualStudio2017
Select the Download button from the webpage.
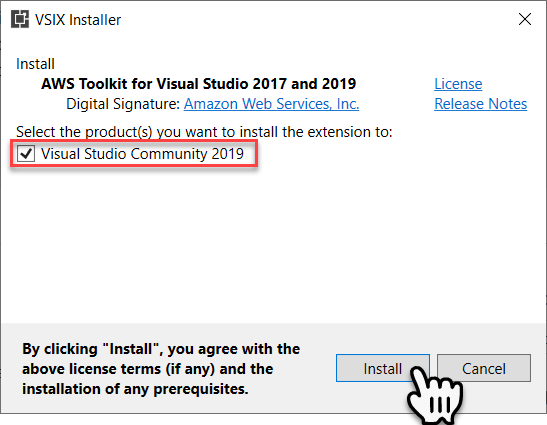
Once downloaded, run the VSIX installer. Within the installer select the visual studio level you want the installer to install for, then select Install.
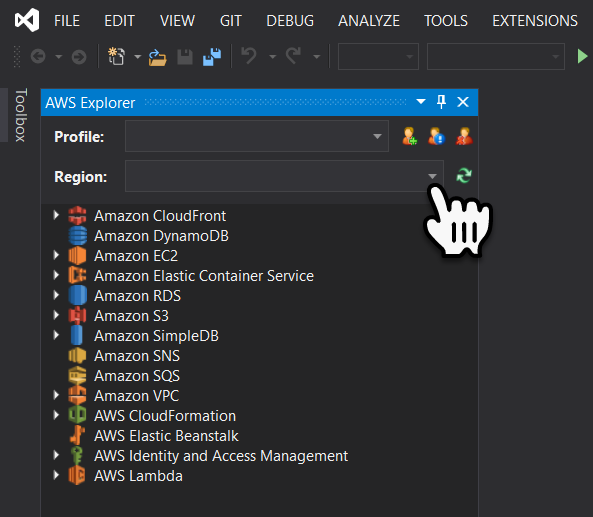
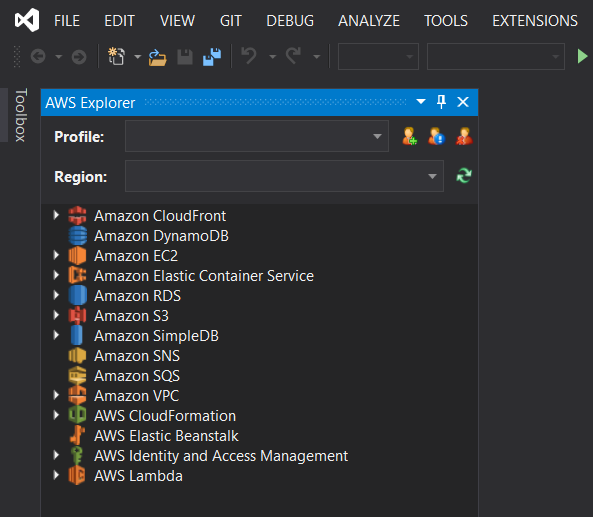
Once installed the AWS Explorer will be available within Visual Studio.
Visual Studio IAM User
To allow visual studio to upload a lambda to AWS we must create an IAM user that has the correct policies that will permit it to do so.
AWS Services Console Login
Let’s login to the AWS Services Console using the following address;
https://console.aws.amazon.com/console/home?nc2=h_ct&src=header-signin
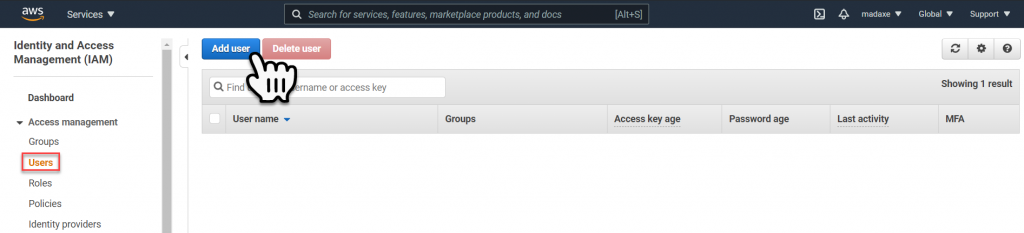
Create new IAM user
Within the AWS Services Console navigate to the Identity and Access management (IAM) dashboard, and then select Add User.
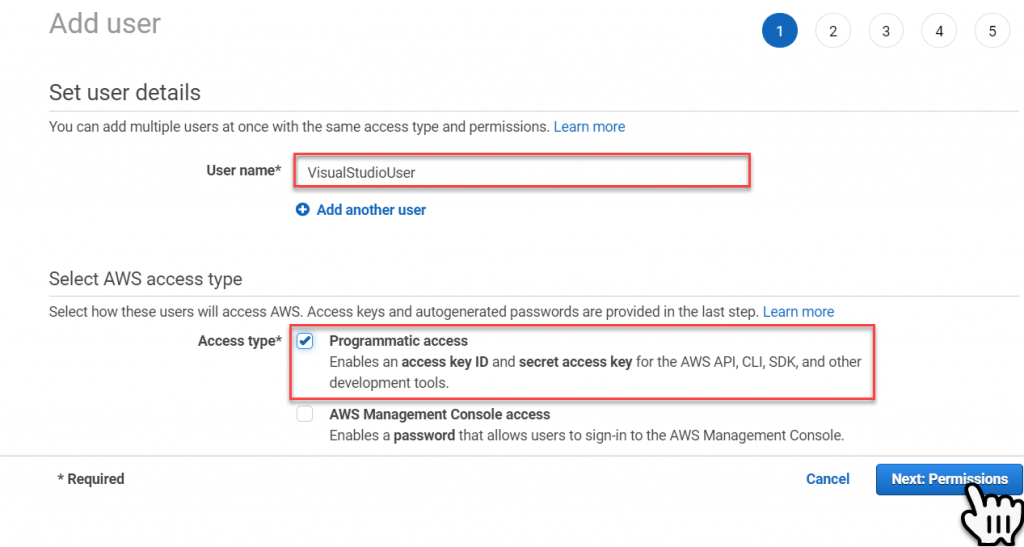
Within the Add User panel, key-in the User Name – ‘VisualStudioUser’. Then set the Access Type to ‘Programmatic Access’, and select the Next Permissions button.
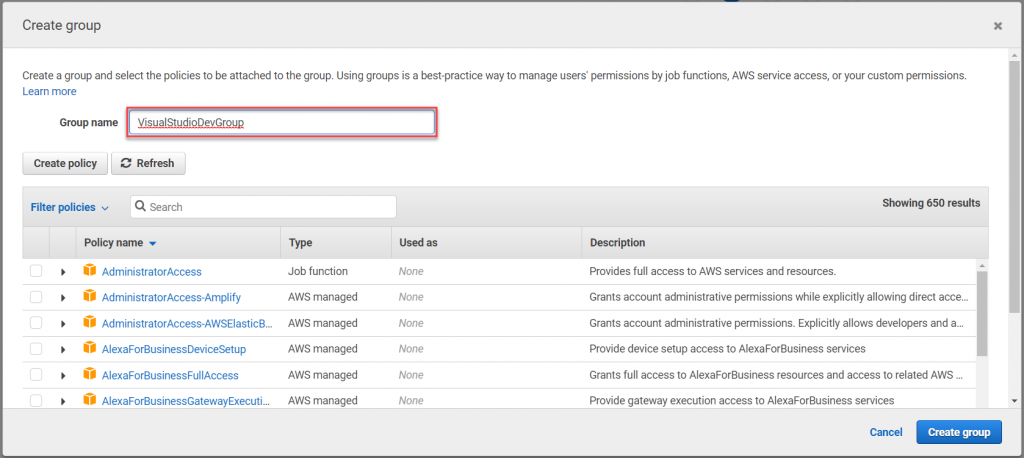
Within the Set Permissions panel select the Create Group button.
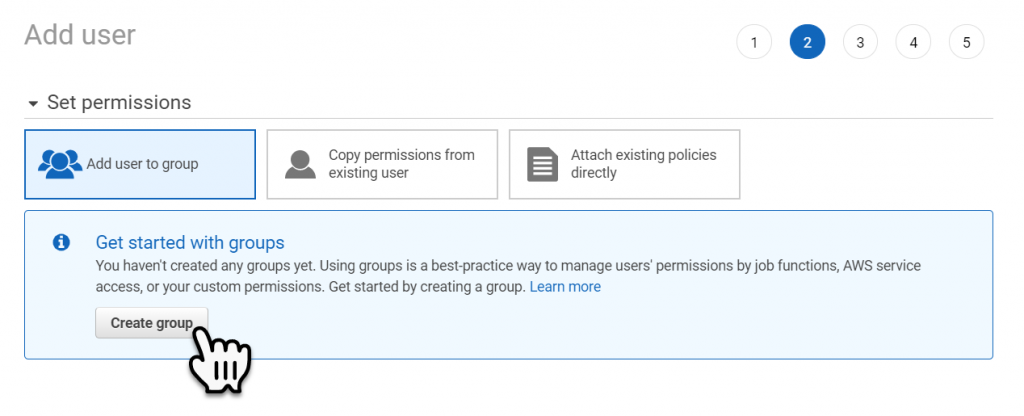
We will create a Policy Group, to which well attach the policies that will give our Visual Studio IAM user the permissions required to upload the new Lambda functions.
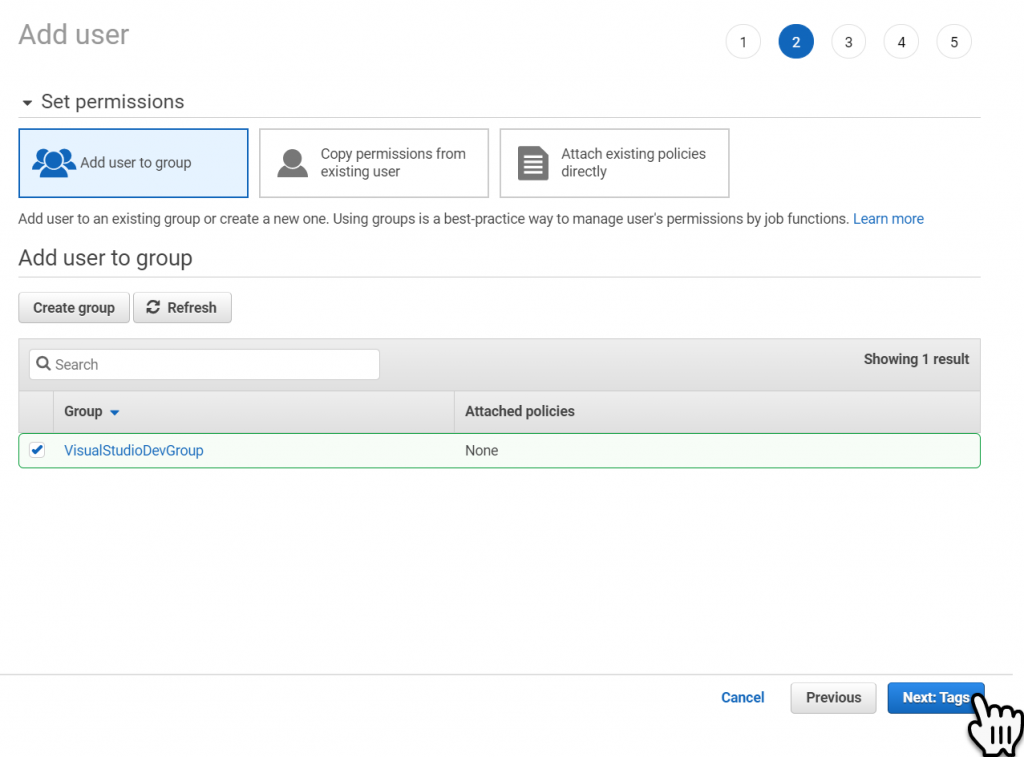
Key-in the Group Name – ‘VisualStudioDevGroup’ and then select Create Group button, to create the policy group.
Then select the Next Tags button.
Step past the Tags and the Review section unless you want to make any additional changes.
The last Panel allows you to download a .csv file that contains the credentials of the user. Keep this information somewhere safe we will need it when we add the IAM user to Visual Studio.

Add Policies to an IAM User
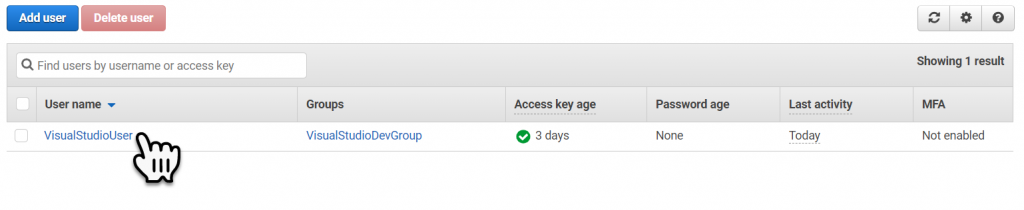
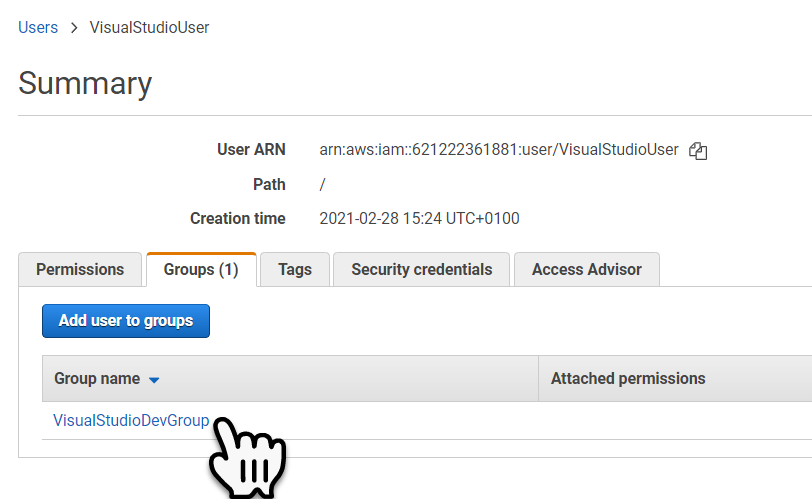
We have one more step, which is to add the required policies to the new visual studio group. To do this select the new IAM user in the IAM Users list.
We need to add the Policies shown below, it’s important to understand that these Policies gives too many permissions, in a later post I will show you how to create a policy that contains just the required security permissions require to perform the same task.
Select the Groups tab.
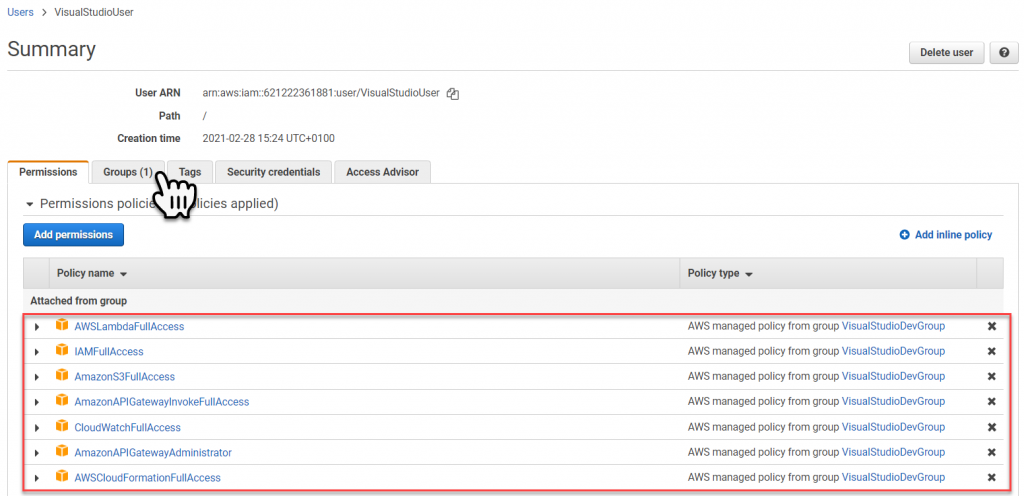
Then select the Group link, to access the Policies attached to the Group.
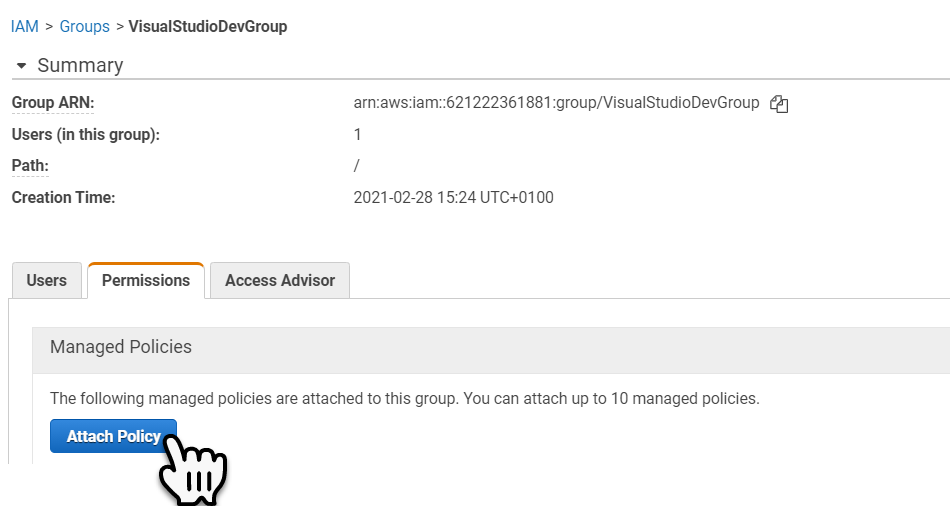
Now we can add the Policies to the Group. To do this Select the Attach Policy button.
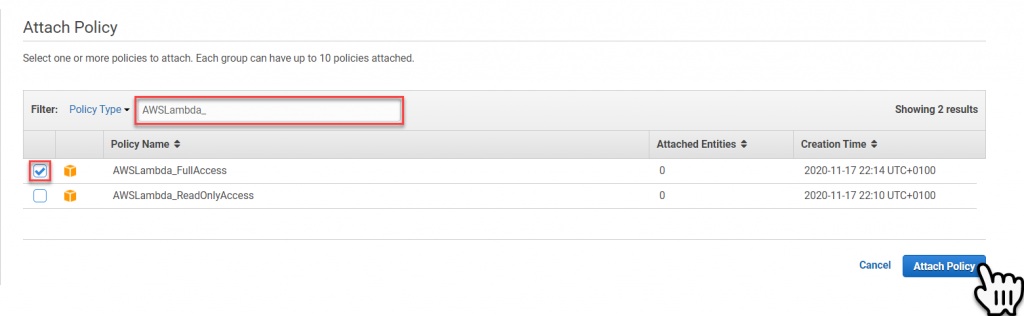
Key in a portion or all of the Policy Name, in the ‘Filter’, then check the policies to be added and then select the Attach Policy button, to attach the policy to the group.
Repeat this process to add all the required Policies to the Group, see Policy list above.
Add the IAM User to Visual Studio
To add the IAM User to Visual Studio, select View->AWS Explorer to open the AWS Explorer. Then select the New Account Profile icon.

We can import most of the information from the download csv file. Select the Import From CSV File button, then navigate to where you downloaded the CSV file to and select it, for import.
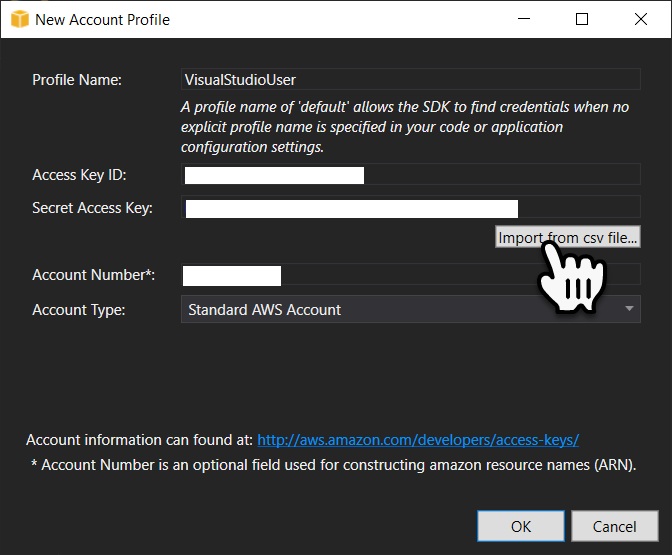
The only field that will not auto populate is the Account Number, but don’t worry if you look in the csv file you will find a web URL the account number is contained within the URL.
Once you have added the account number select the Ok button to create the new account profile.
Lastly, we will set the region, this is where you want to create Lambda function.