Table of Contents
Create an RDS MySQL Instance
In this Post we will create a new RDS MYSQL Database, and then in a later post we will setup an IAM user for Visual Studio so we can create AWS Lambda’s that can read and write data to and from the database.
Login to AWS Portal
If you don’t already have an AWS account you can create one, you will need a credit card but most services have a free tier. If you do go ahead and login.
Once you have keyed in your user credentials, go-ahead and enter your password.
Creating the RDS MySQL Database
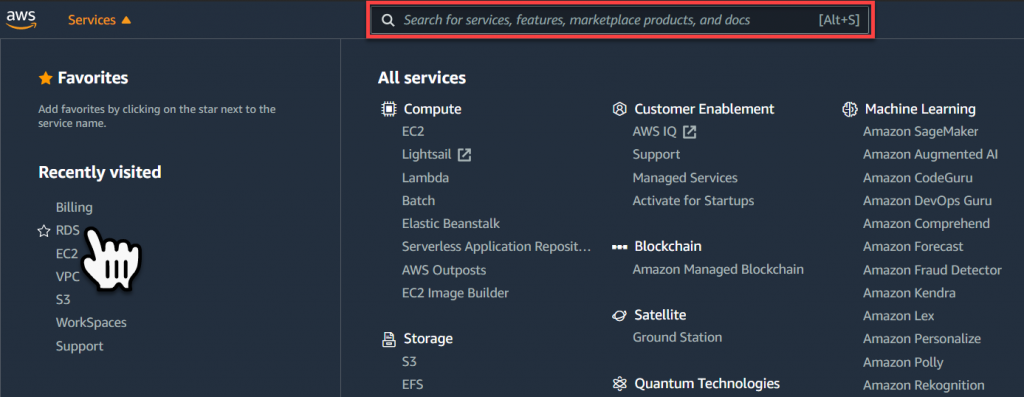
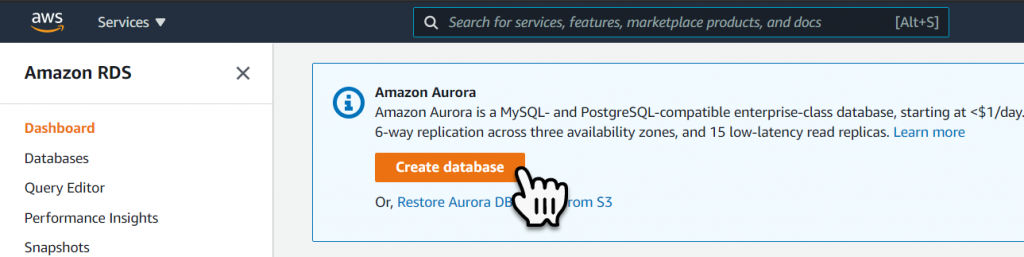
From the top menu, select the Services link, and then either select the RDS service link in the ‘Recently Visited’ section, or key in the ‘Search Bar’ RDS then press enter, to find the RDS link. Once the RDS link is found pick the link to access the RDS service.
Within the RDS Service page, select the Create Database button, to start the database creation process.
While creating the database use the following options
Database Creation Method

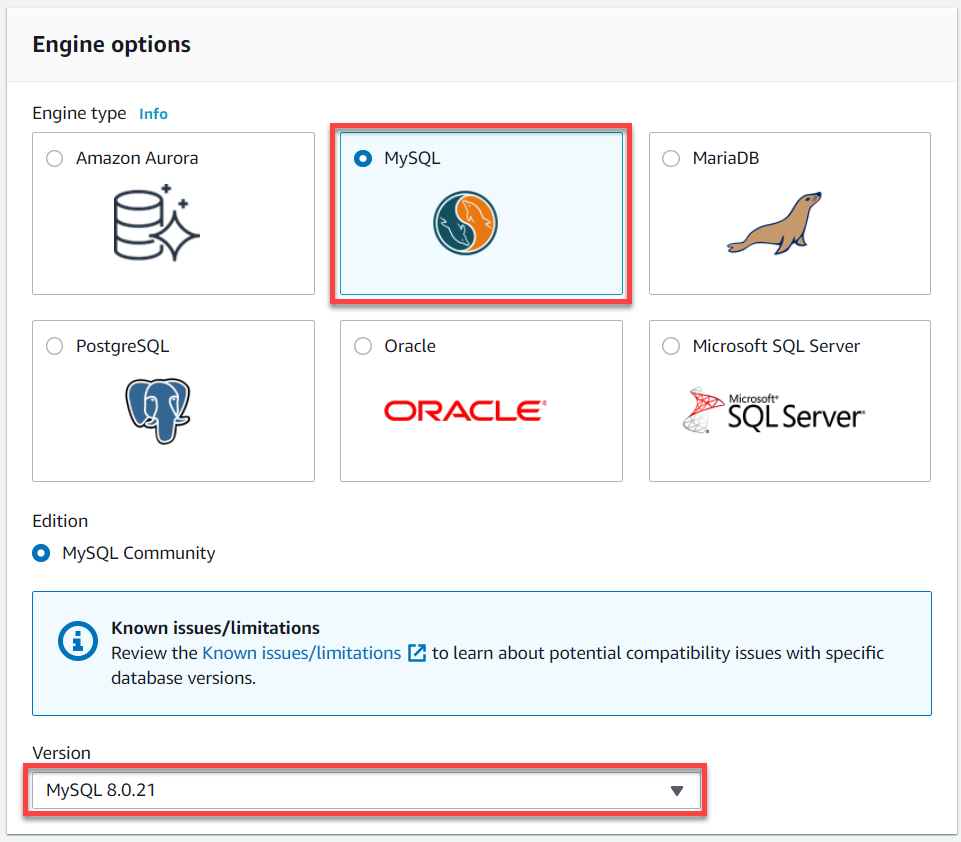
Engine Options
This database will be a MySQL database at Version 8.0.21
Templates
This one is important, make sure you set the template option to Free Tier.

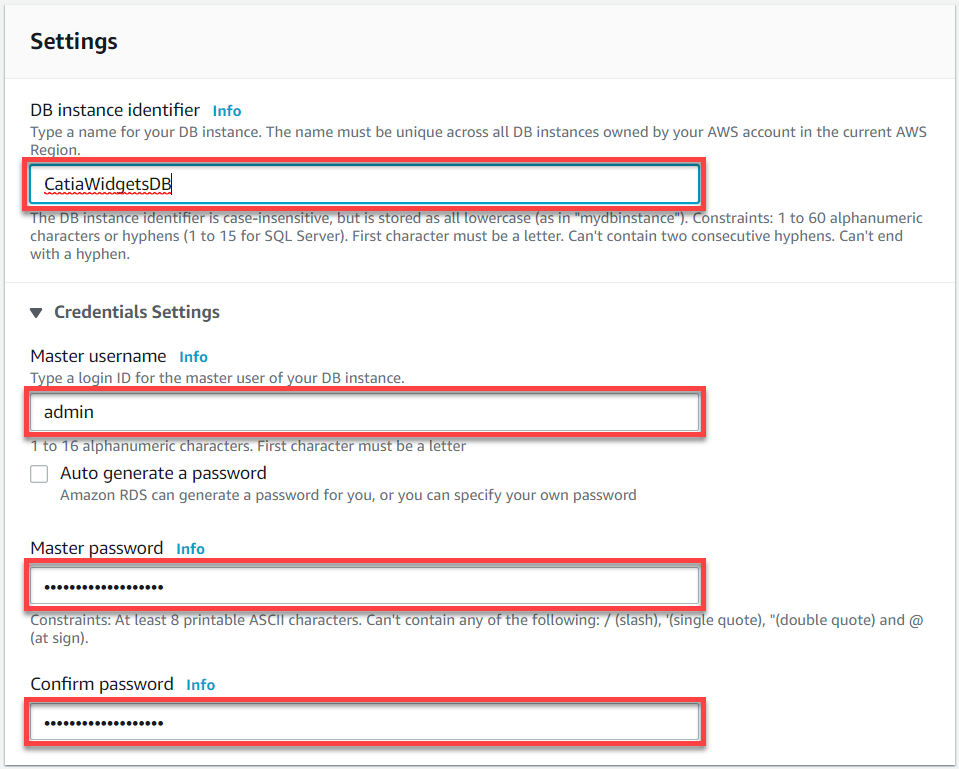
Settings
These settings are important to take note of since these will allow you to connect tot he database later on.
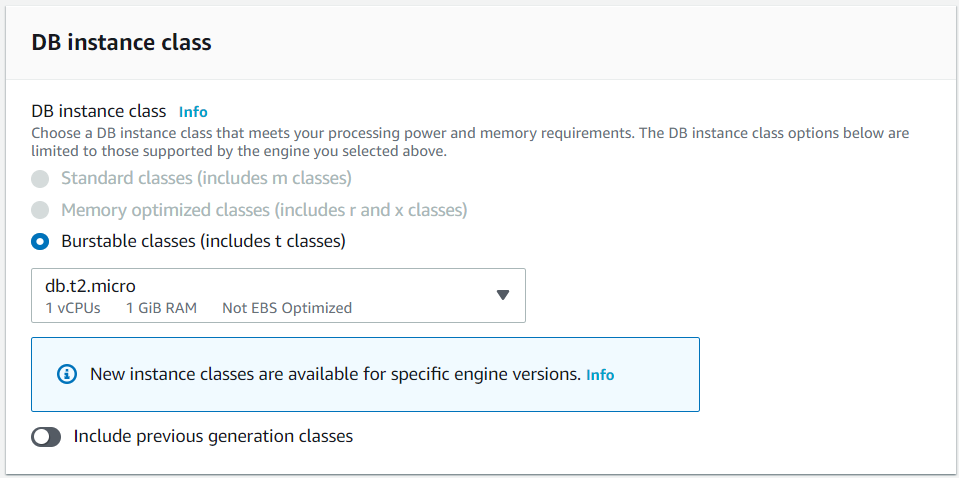
DB Instance Class
There are no changes to be made here.
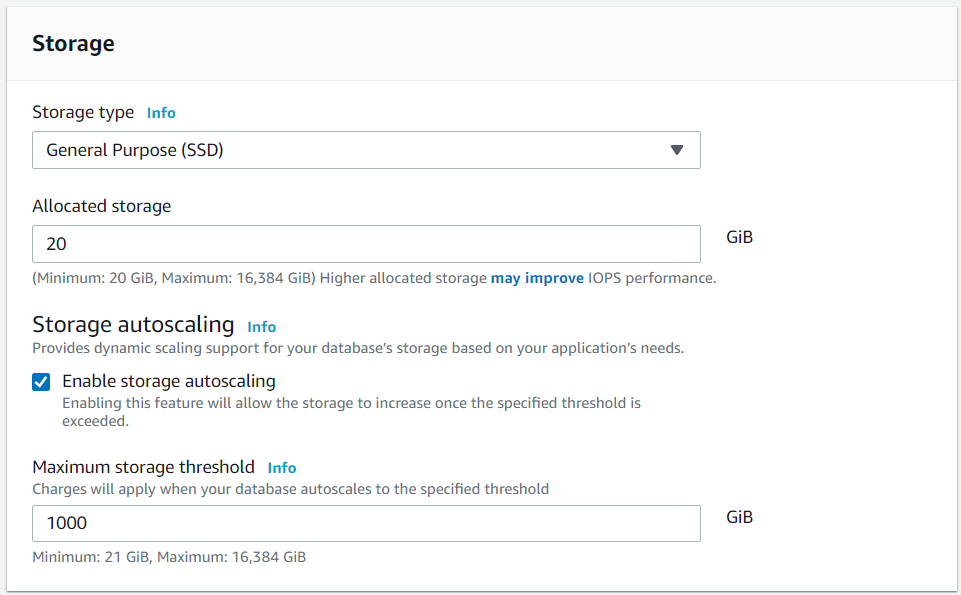
Storage
The default settings are a good start, and can be left as is unless you want to customize it to fit your needs.
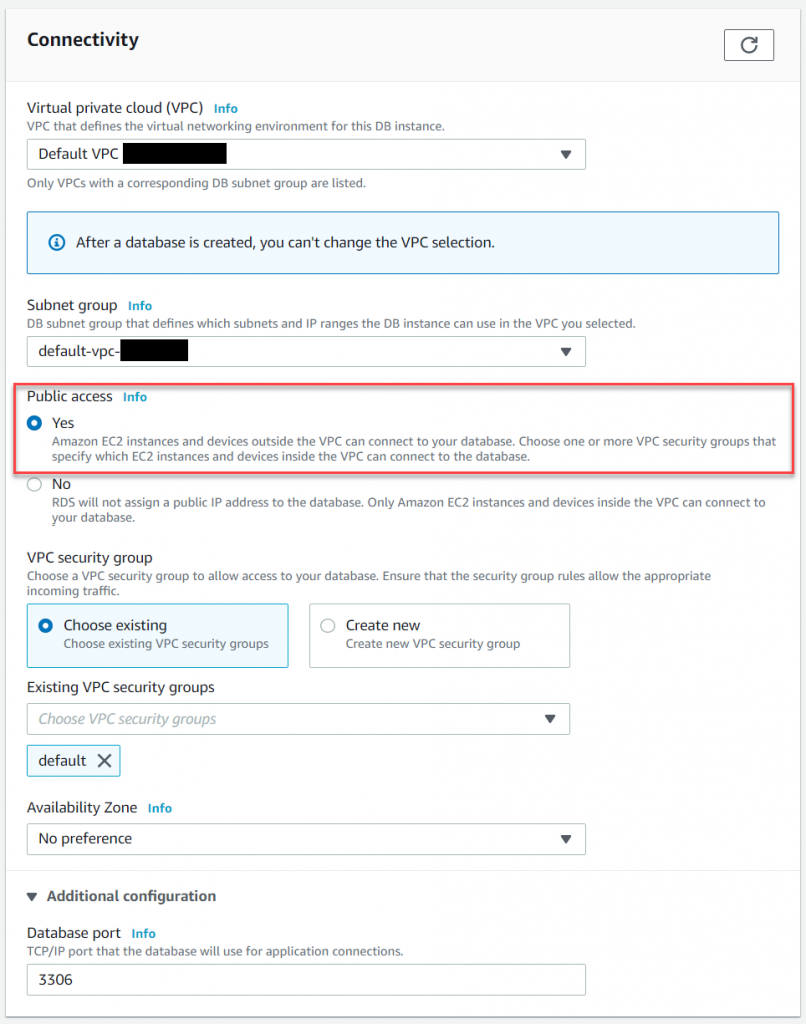
Connectivity
If you want to access the Database from your home PC you must set the option Public Access to Yes. The rest of the options can be left as the default options unless you want to customize it for your specific needs.
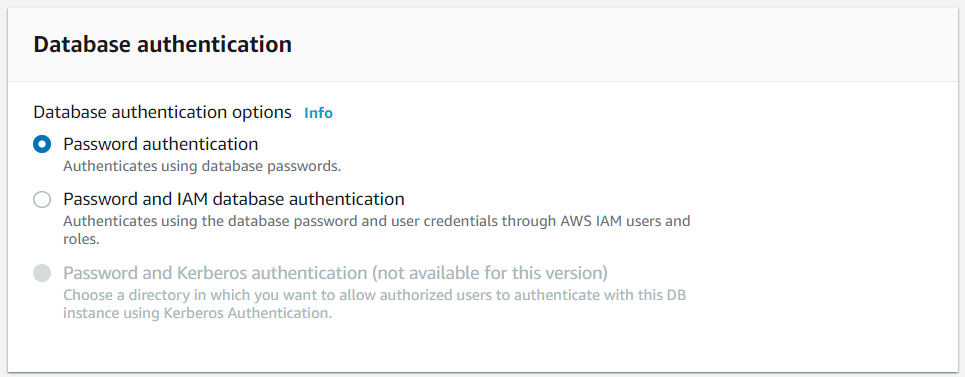
Database Authentication
To allow us to connect from our home PC we will leave this option set to Password Authentication..
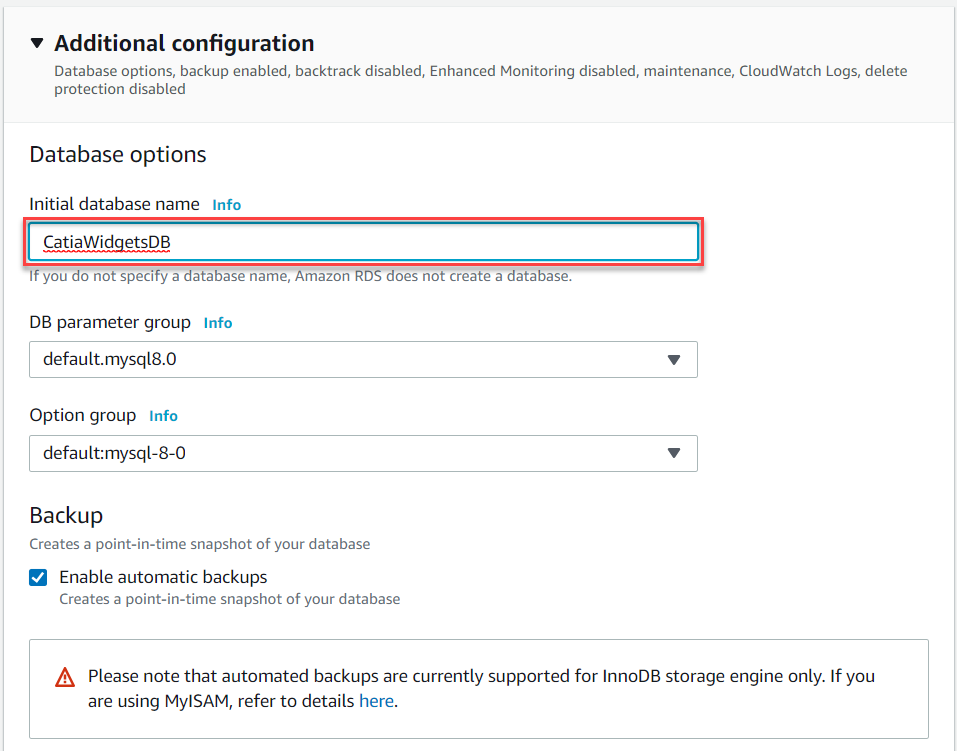
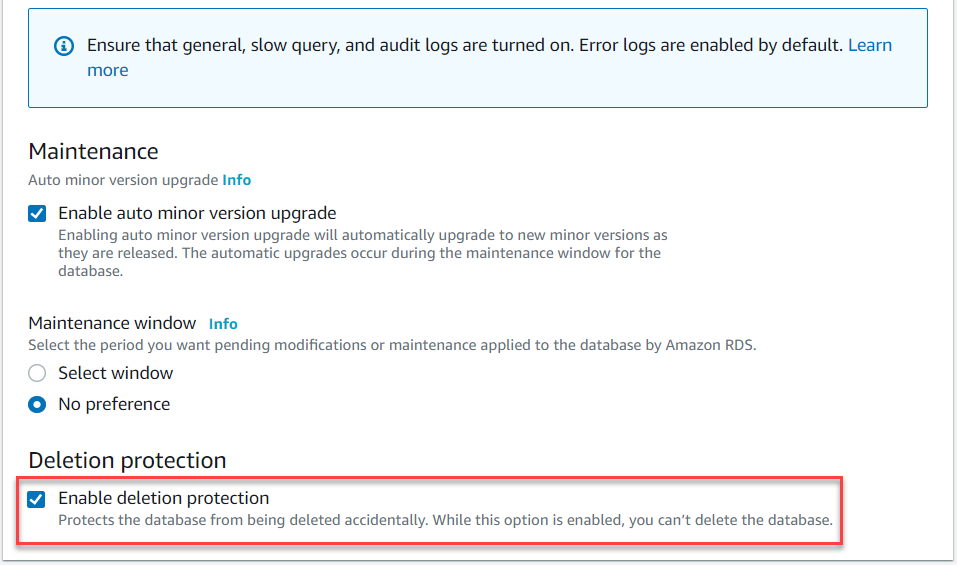
Additional Configuration
You don’t have to supply an Initial Database Name, but I like to have my initial database created for me. We will also turn on the three Log Export options, and we will also enable the Delete Protection.

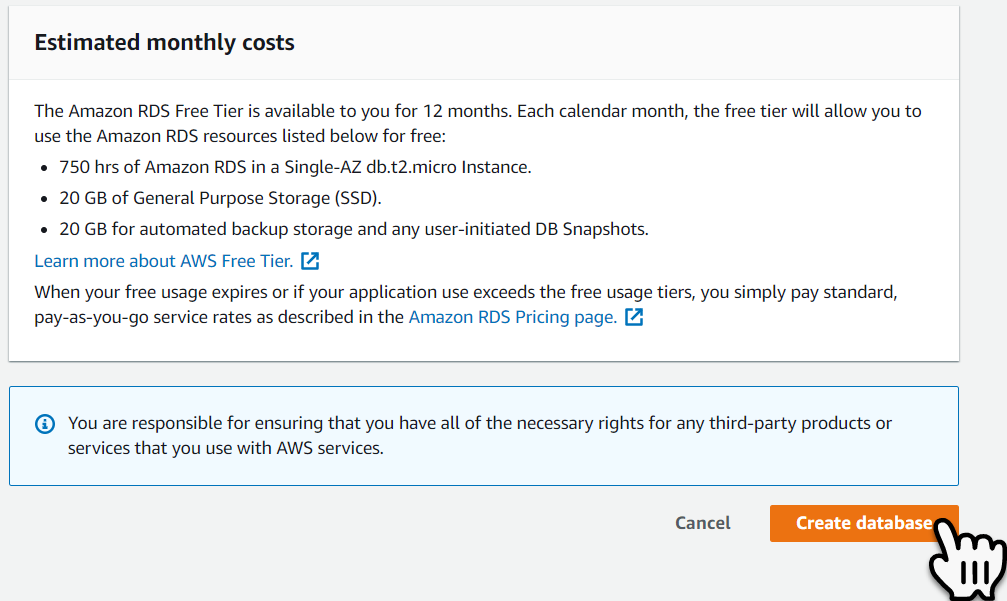
Finally Select the Create Database button, to create the database. This will take about 5 minutes so have some patients.
VPC Inbound Rules
We have one last step to perform to allow us to access the database from our home PC’s, this is to add additional VPC Inbound Rules.
To do this first we must wait until the Status changes to Available before we do anything else.
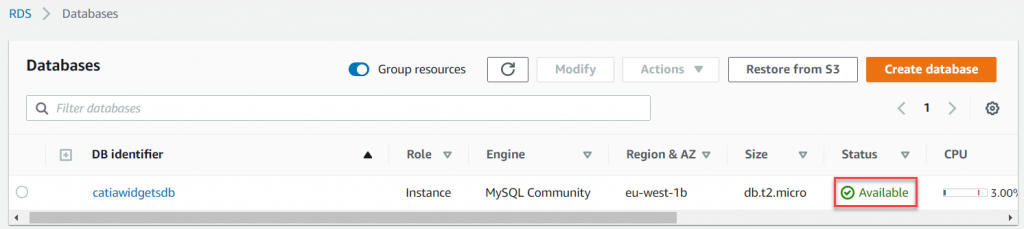
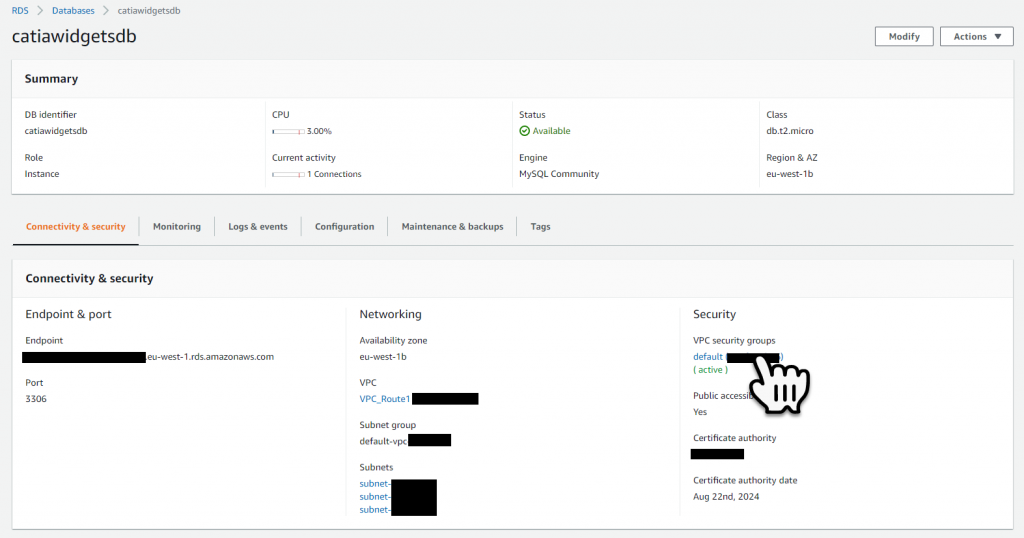
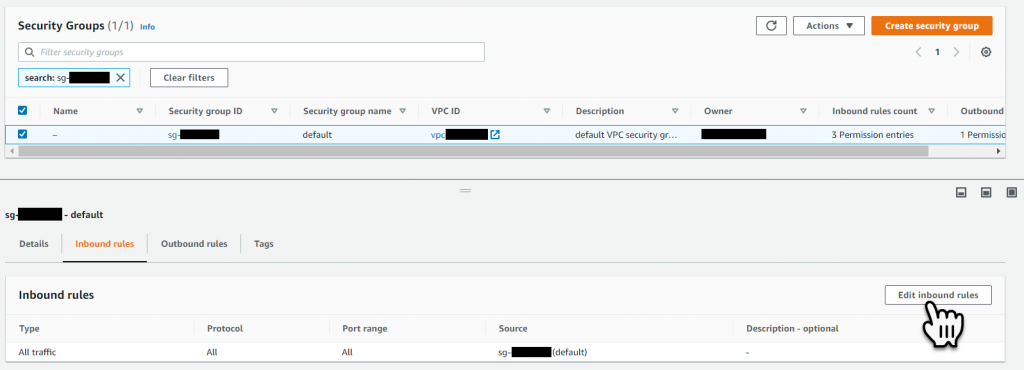
Once it becomes available select the Database Identifier link. Then within the Connectivity & Security tab, select the VPC Security Groups link.
Within the ‘Security Groups’, select the Inbound Rules tab and then select the Edit Inbound Rules button.
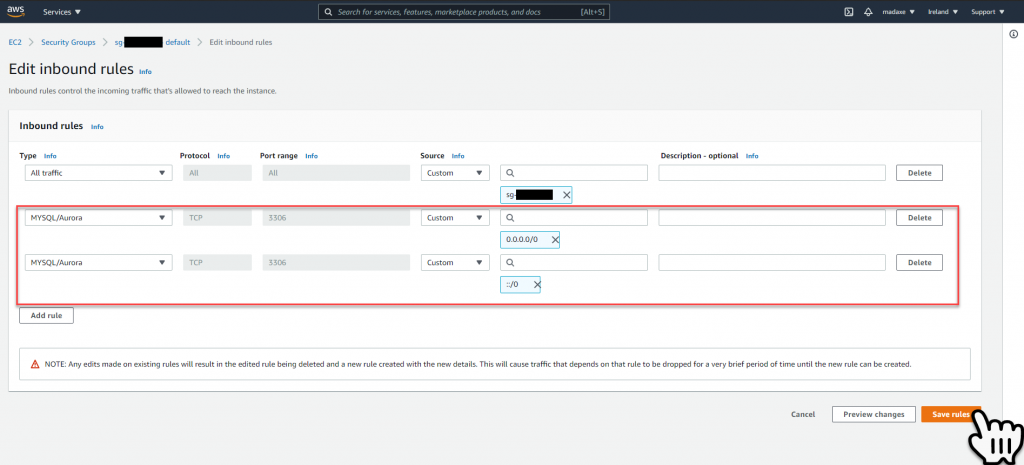
Add the following two TCP Inbound rules, then select Save Rules.
Creating the Database Connection
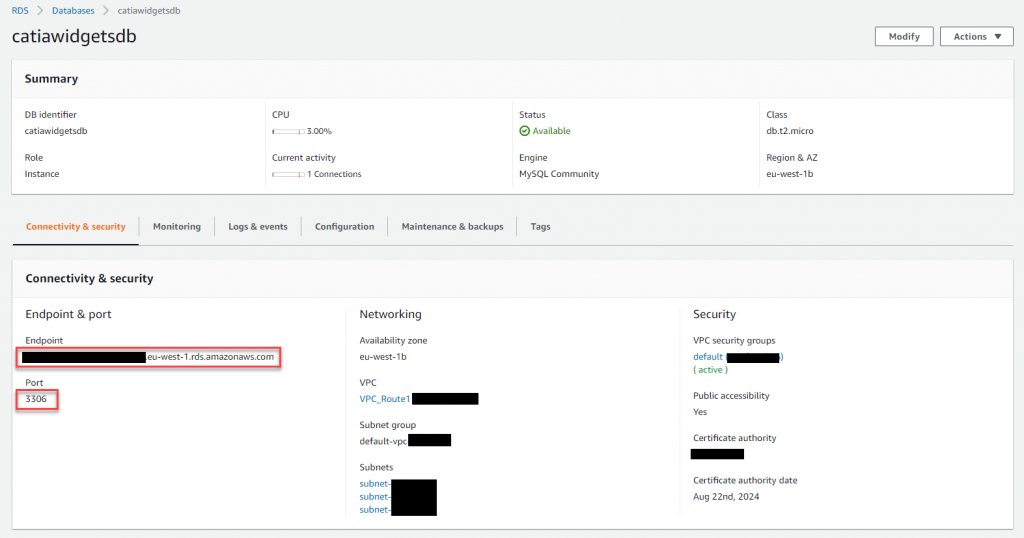
When we created the database we created a user id admin with a password that we wrote down. We also have an Endpoint URL and Port which can be found in the Connectivity & Security tab.
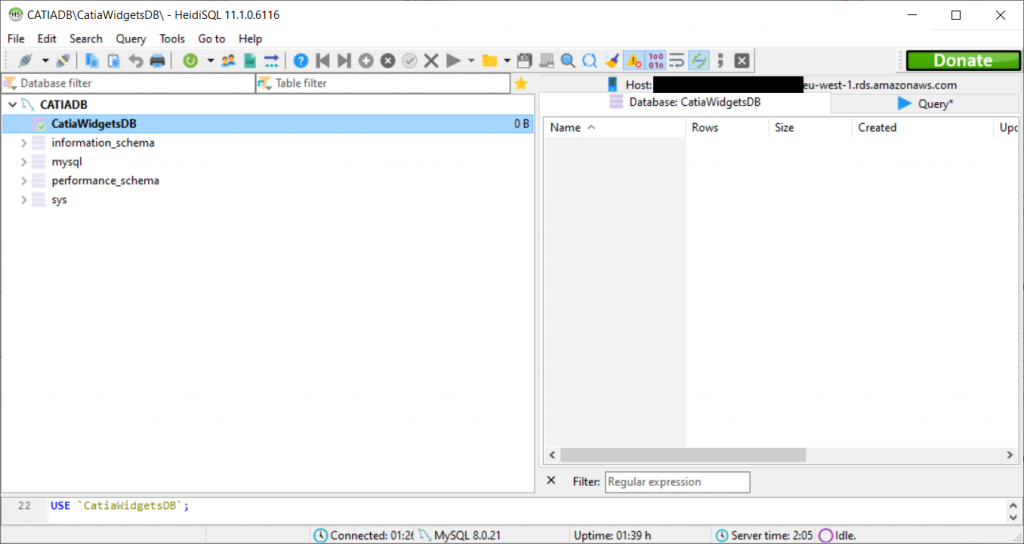
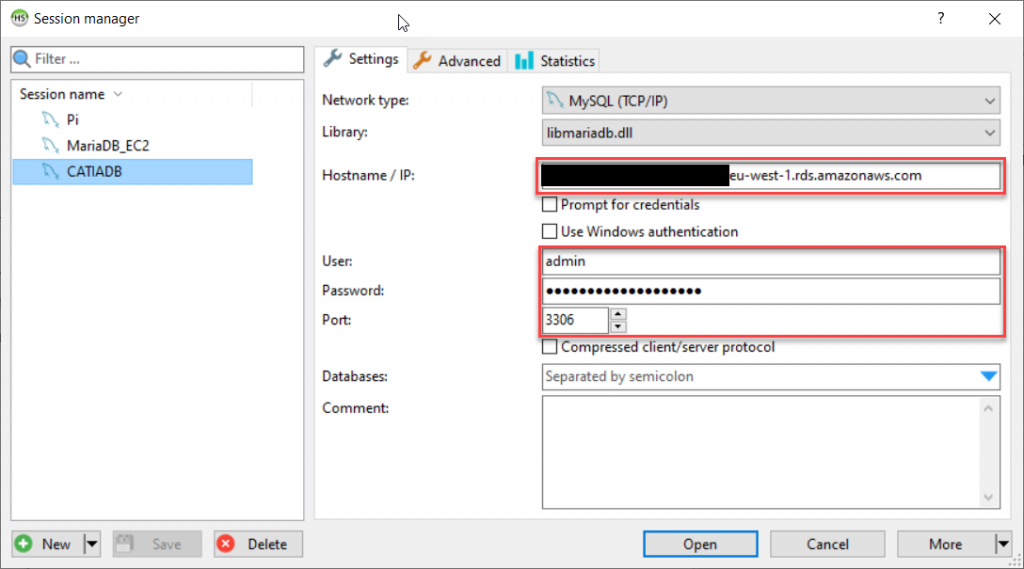
With this information and using your favorite MySQL Database editor (Heidi, MySQL Workbench or other), create a new connection. I’m using Heidi here is a snap shot of my connection.
When we connect with this connection we should be able to see our database.