
Table of Contents
Document PLM Life-Cycle Architecture with SQLite
In the previous blog we created an Add-in for Word, I want to continue this by building the backend for our Word Add-in and then hook everything together.
So first lets have a discussion about the architecture, the high level architecture will be defined in 3 parts,
- We will have a server side component which will be a REST API with RDS MySQL database and S3 bucket storage.
- A GitHub NuGet Package which manages the data transfer, calling the REST services and a set of Interfaces for writing the client side Add-Ins.
- Application Add-in’s
It’s important to understand that we want to write this so that the Server Side and NuGet package transfers and managers Objects, not specific file types. This way the add-ins can send any file type to the server and they will be handled in the same manor.
There is one last aspect that we want to address before we get started, client side registration. There are several workflows where the file and its associated application can become out of sync with the database. For example, we create a file in an application and save that file using an addon we developed, if we make additional changes but prior to saving the application crashes how do we recover the file and its connectivity back to the database afterwards.
There are three ways in which we can possibly achieve this;
- Create an xml file that contains all the information about our file, this is typically called a registration file.
- Embed the information directly into the file, only some applications have the capability to create attributes for example word.
- Embed attributes at the file system level of the file ( did some research, this is no longer possible in windows 10).
- Store the file attributes into a SQLite database on the client.
Option 3 we know is no longer feasible, and option 2 is not supported in all applications. Which leaves options 1 and 4, option 1 is kind of old school and allows end users the capability to manually edit the file and there could be a lot of files created on the clients machine that will require clean up at some point. Where as option 4 could be edited by the end user but if they knew what the file was we can store a lot of information in one place and manage the data within the database far more effectively.
So in this blog were going to take a look at SQLite,
Working With SQLite in Visual Studio
In this blog were going to setup a basic console application project, that contains an SQLite Database, Data Model and a Data Access class. Within the console we will write a new model to the database and retrieve all models from the data base, so lets get started.
Visual Studio Project
For this project we will just setup a new Console App (.NET Core) within Visual Studio.
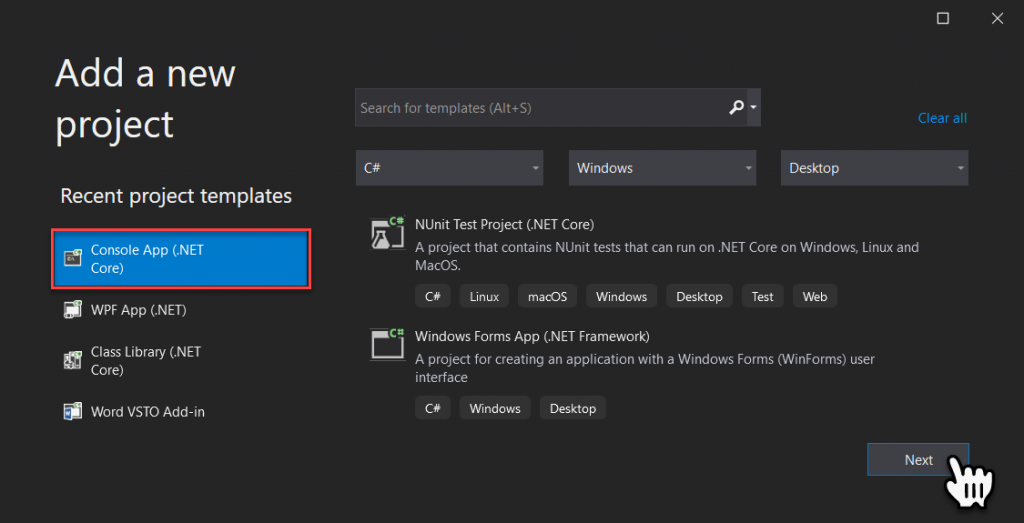
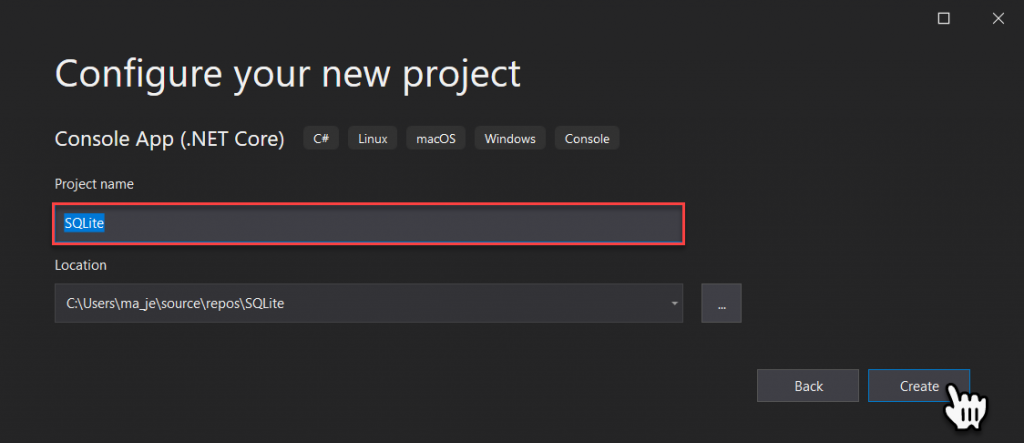
Next let’s enter a name for the project ‘SQLite’, and select Create.
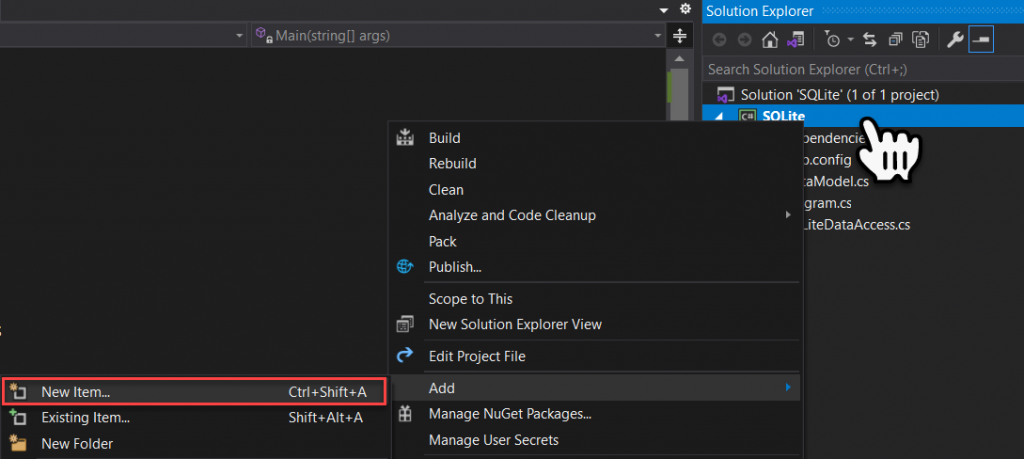
There are a couple of ways to do the next step I like this approach; we need to add an SQLite database file into our project, we can do it via the SQLite Database Browser (see next section) but then we have to screw around with making Visual Studio include the file into the project (Yawn) , or we can include a fake database file into the project and then overwrite it with the SQLite Database Browser. We are going to use my approach, so lets right mouse click on the project and select New Item from the secondary contextual menu.
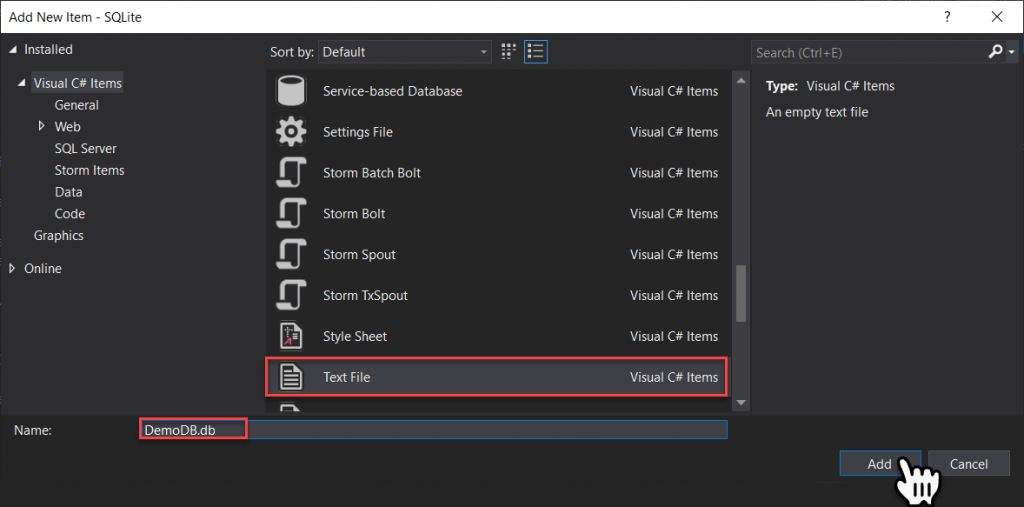
Then select Text File, for the item type and key in ‘DemoDB.db’ (make sure you change the extension from .txt to .db), then select Add.
The last step is to ensure that the latest file is always copied into the build folder to do this, right mouse click on the ‘DemoDB.db’ file and select Properties from the contextual menu.
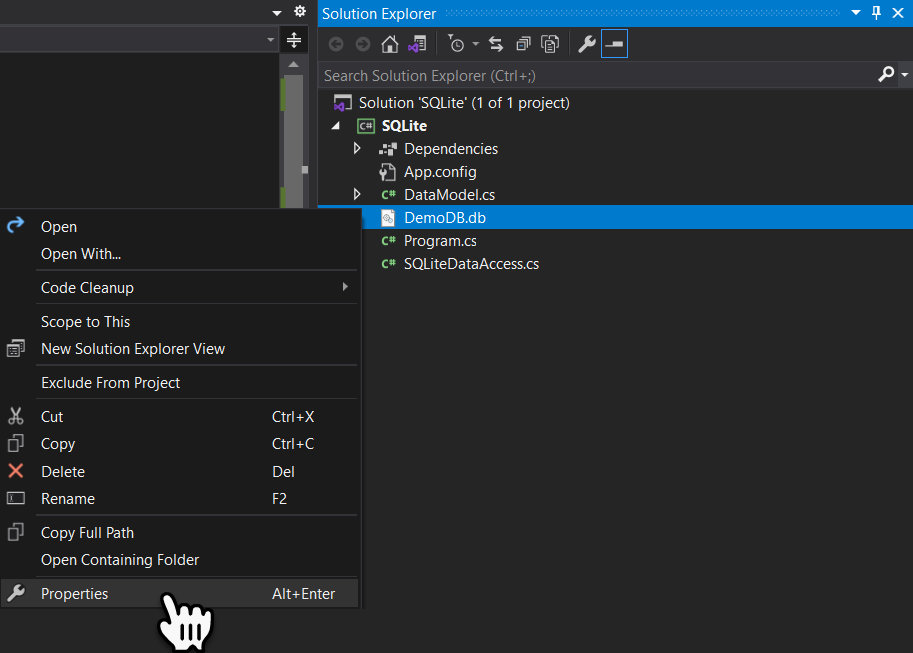
In the properties panel, change ‘Build Action’s’ vale to Content, and ‘Copy to Output Directory’s’ value to Copy If Newer. This way the file will just be additional build content and will only be copied to the build folder if the modification date time stamp is newer than the one in the build folder.

Next well setup SQLite Database Browser.
SQLite Database Browser
The first thing we need to do is download a free tool that will allow us to create and edit SQLite database’s. I like SQLite Database Browser from the following link.
Once you have this or another SQLite browser installed we need to overwrite the SQLite database file we add to the visual studio project earlier. To do this select New Database in the SQLite Browser.

Then in the file browser, navigate to the ‘DemoDB.d’b file we created in the Visual Studio project and select it, then pick Save.
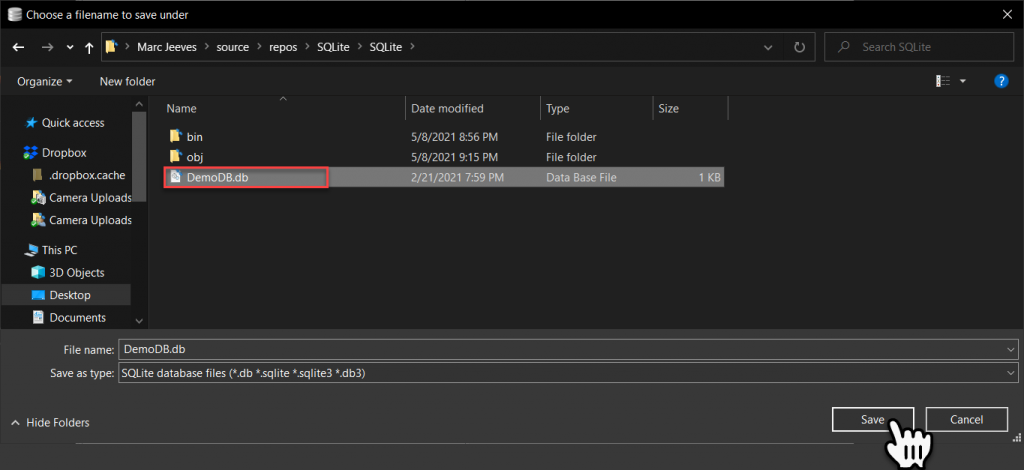
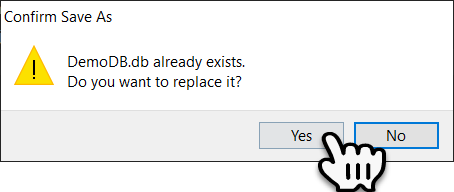
You will be prompted to Replace the existing file select Yes.
When you select Yes, you will be asked to create an initial table, create a table called ‘DataModel’ with the following columns as shown below, then pick Ok.
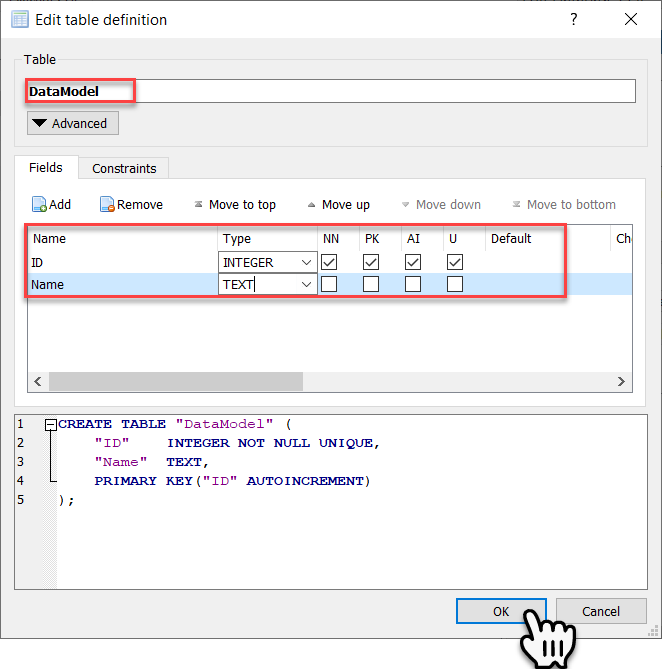
Now we have the table added to our Visual Studio Project we can create the Data Model and a Data Access class next.
Data Model
Our data model is going to be real simple and only contain one attribute for now; Name. The first step is to insert a new class into the project called DataModel, which will contain the following code.
namespace SQLite
{
    public class DataModel
    {
        public string Name { get; set; }
    }
}
NuGet Packages
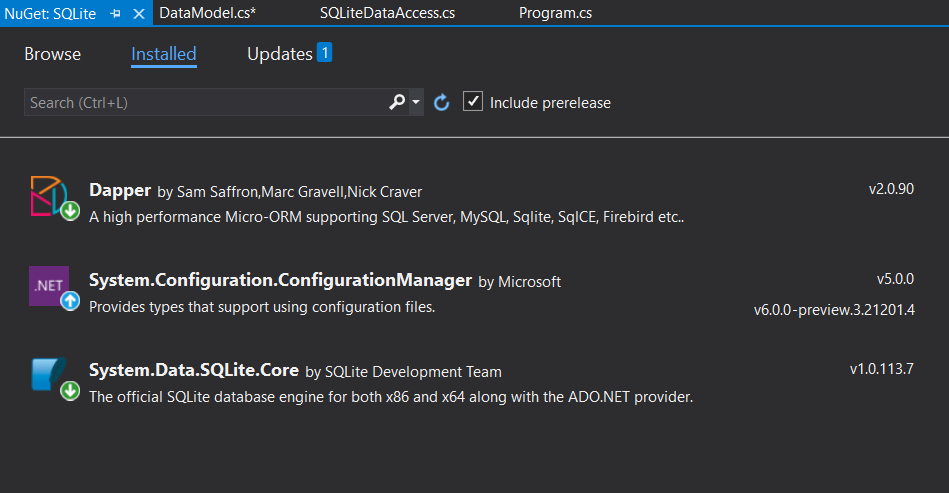
We are going to install three packages;
- Dapper – This will help with defining CRUD SQL statements, for the SQLite database.
- Configuration Manager – This will allow us to read information from the ‘App.Config’ file.
- SQLite.Core – This will allow us to create the connection the SQLite database.
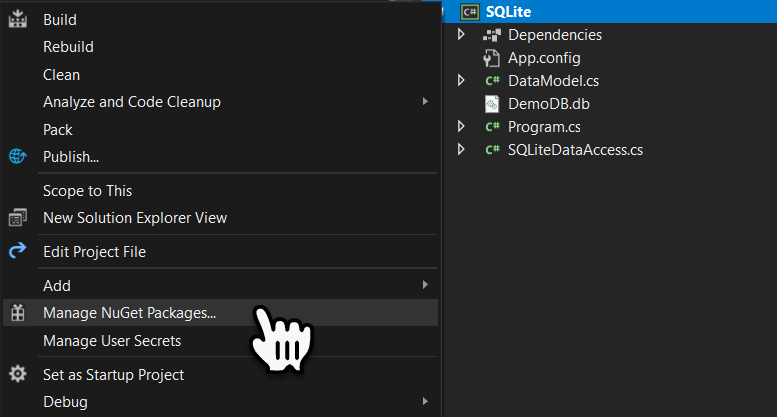
To add a NuGet Package, right mouse click on the Project and select Manage NuGet Packages… from the contextual menu.
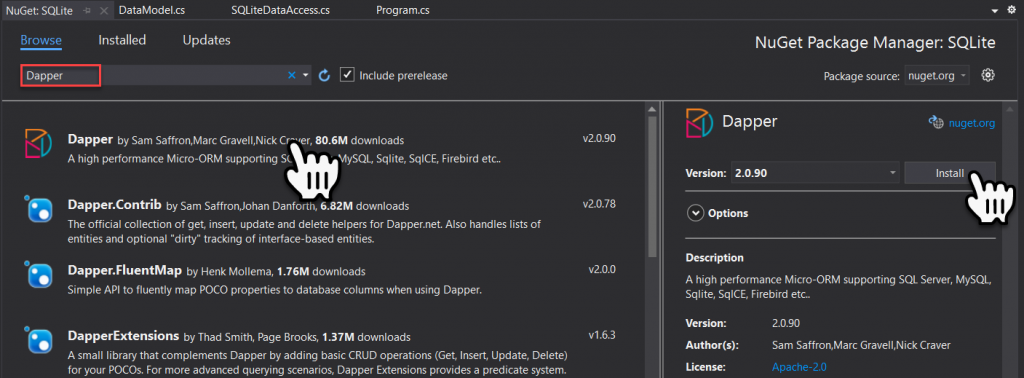
key in a partial name or the full name of the NuGet package into the search field, and then select the package to be installed. Then select the Install button, you may ahve to select some licenses agreements or accept the changes being made to the project to complete the installation.
Do this for all the NuGet Packages required.
App.Config File
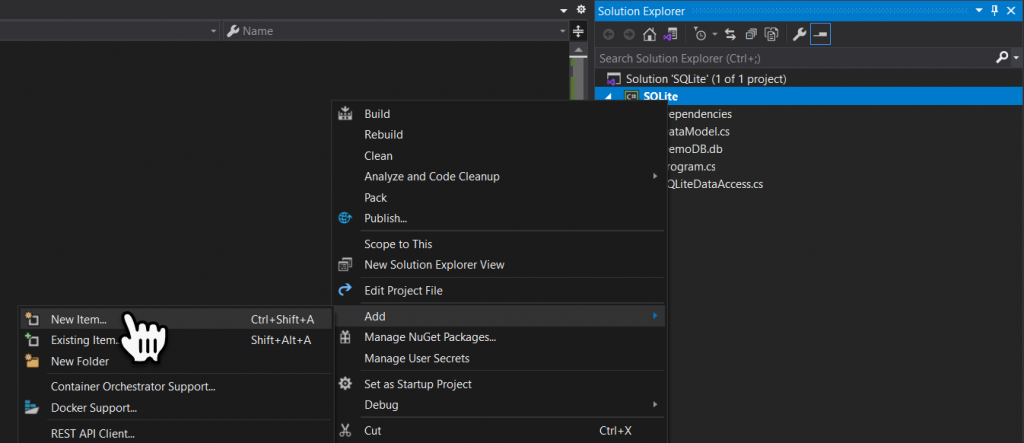
Some Visual Studio Projects will not automatically have an ‘App.Config’ file. To manually add this file right click on the project and select New Item… from the secondary contextual menu.
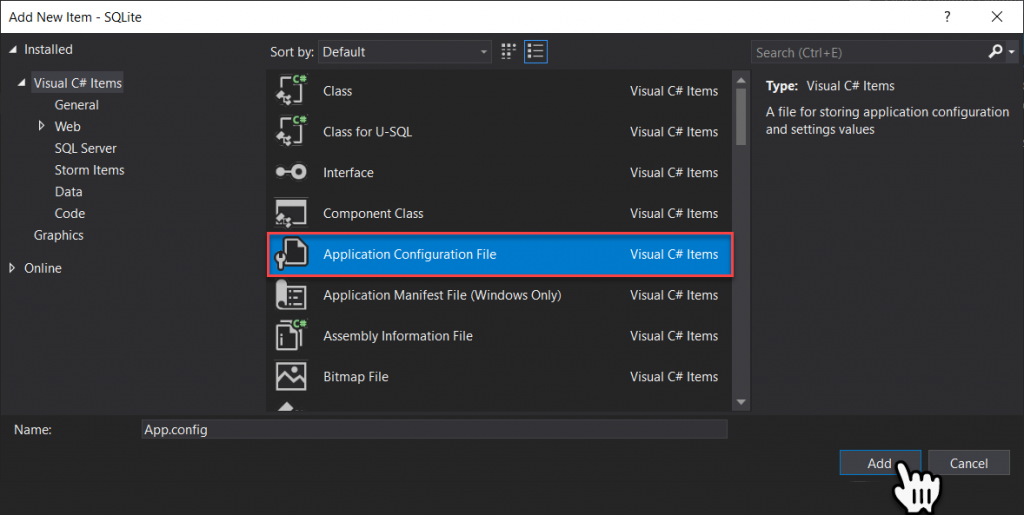
Select the ‘Application Configuration File’ from the templates list, and pick Add.
We will add the following Connection String code to our ‘App.Config’ file.
<?xml version="1.0" encoding="utf-8" ?>
<configuration>
  <connectionStrings>
    <add name="Default" connectionString="Data Source=.\DemoDB.db;Version=3;" providerName="System.Data.SqlClient"/>
  </connectionStrings>
</configuration>
SQLite Data Access
Lastly we will add one last class tot he project called ‘SQLiteDataAccess’, as shown below.
This will have a private static method for retrieving the connection string from the ‘App.Config’ file.
Then two public methods one for retrieving a list of Data Models and one for writing a Data Model back to the database.
using Dapper;
using System.Configuration;
using System.Data.SQLite;

using System.Collections.Generic;
using System.Data;
using System.Linq;

namespace SQLite
{
    public class SQLiteDataAccess
    {

        private static string LoadConnectionString(string ID ="Default")
        {
            return ConfigurationManager.ConnectionStrings[ID].ConnectionString;
        }

        public static List<DataModel> DataModelList()
        {
            List<DataModel> ReturnDataModelList = null;

            using (IDbConnection cnn = new SQLiteConnection(LoadConnectionString()))
            {
                IEnumerable<DataModel> output = cnn.Query<DataModel>("Select * From DataModel", new DynamicParameters());
                ReturnDataModelList = output.ToList();
            }

            return ReturnDataModelList;
        }

        public static string LoadDataModel(DataModel iDataModel)
        {
            using (IDbConnection cnn = new SQLiteConnection(LoadConnectionString()))
            {
                cnn.Execute("insert into DataModel(Name) values (@Name)", iDataModel);
            }
            return "";
        }
    }
}
Testing
In the ‘Program.cs’ file of the console application we will first create a new ‘DataModel’ and then write it to the database, and finally return a list of ‘DataModels’ from the database.
using System;
using System.Collections.Generic;
namespace SQLite
{
class Program
{
static void Main(string[] args)
{
DataModel NewDataModel = new DataModel();
NewDataModel.Name = "Bob";
SQLiteDataAccess.LoadDataModel(NewDataModel);
List<DataModel> DataModelList = SQLiteDataAccess.DataModelList();
}
}
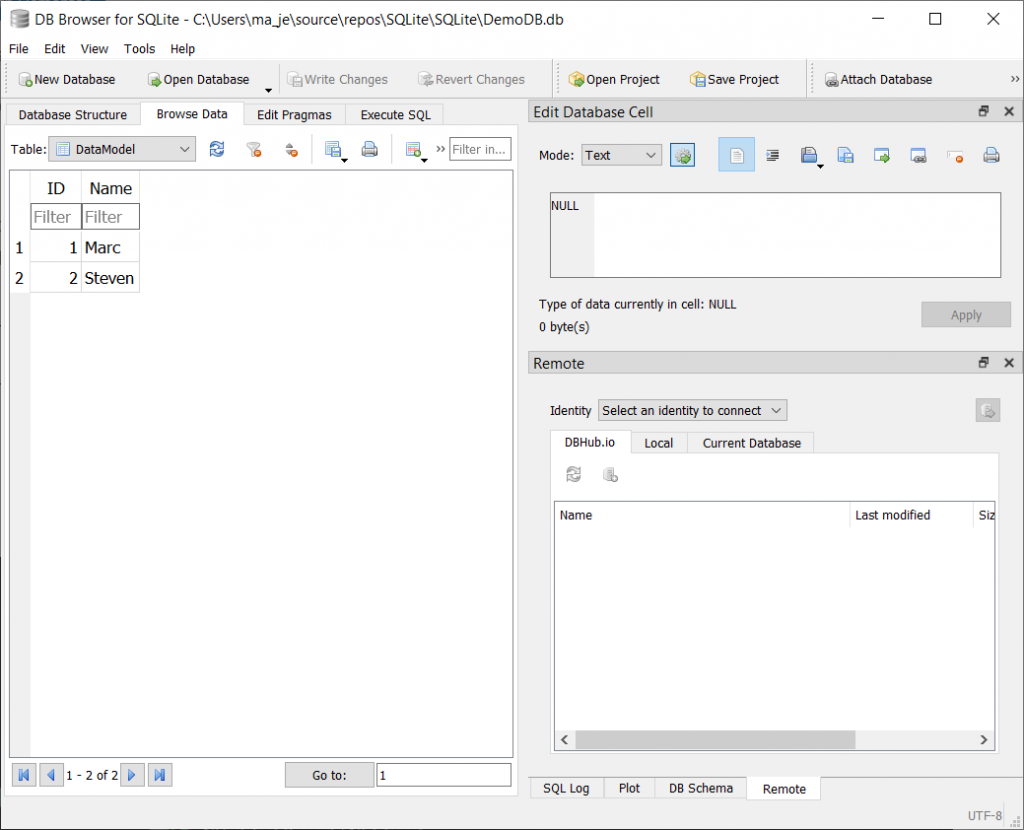
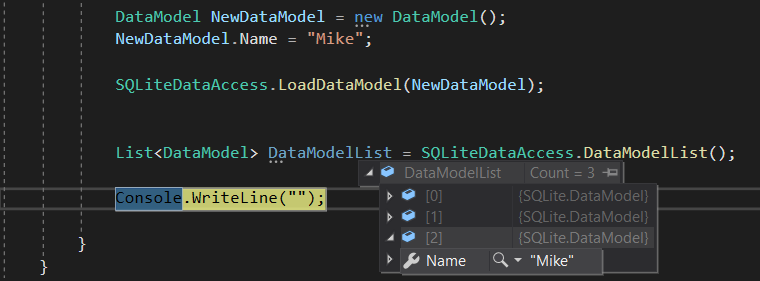
}I have executed the console application a couple of times changing the name value each time. You can see that the ‘DataModelList’, contains three entry’s now.
So it’s as easy as that.