Table of Contents
VBA Editor IDE For CATIA V6
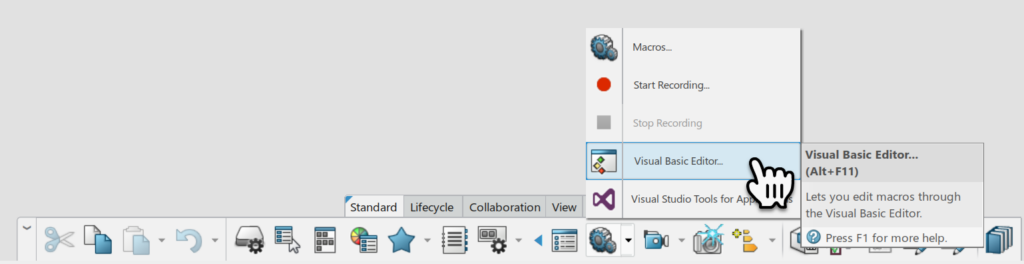
In the last post we talked about some of the basic with VBA, were now going to see how we can get started in CATIA with the VBA Editor or IDE Interactive Development Environment. To get started launch the Visual Basic Editor from within CATIA, typically the Short cut keys Alt+F11 will do this, not only in CATIA but PowerPoint, Excel, Word etc..
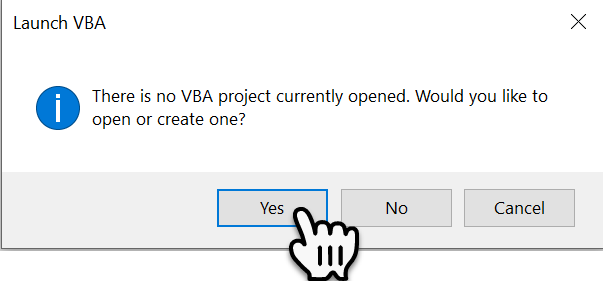
When the Dialogue window displays select Yes to create or Open and Existing VBA Project.
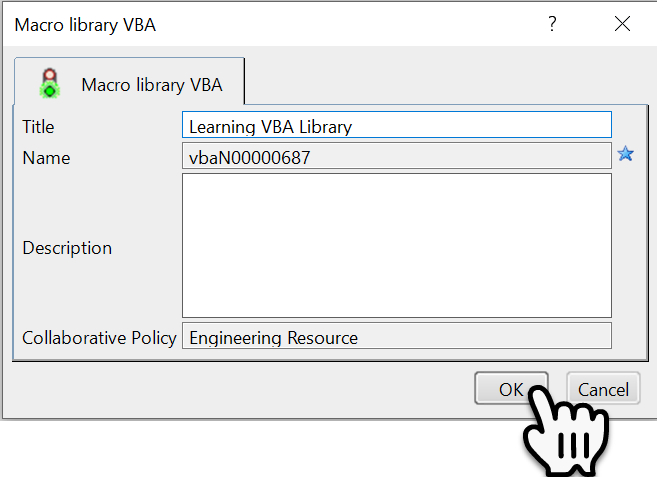
Within the Macro Library’s Dialogue window select Create New Library
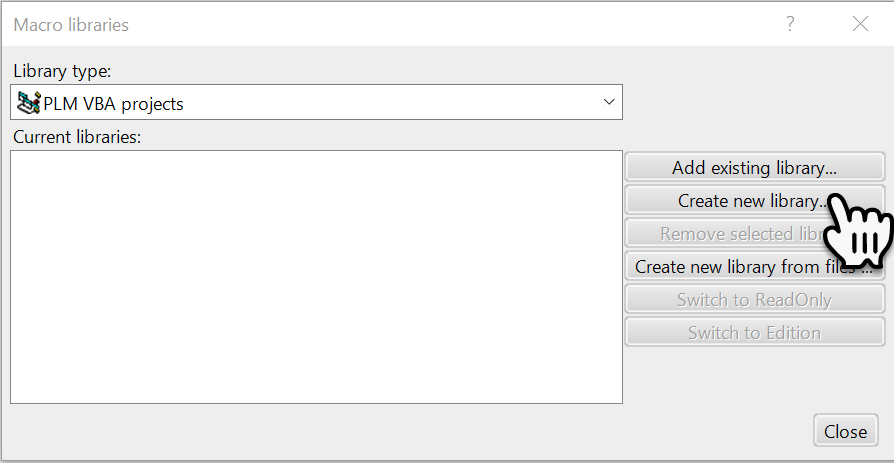
Within the 3DExperience Platform the VBA Library’s are stored as objects unlike V5 where the VBA project is just stored on the file system.
The VBA IDE application will now open allowing you to create and edit your code.
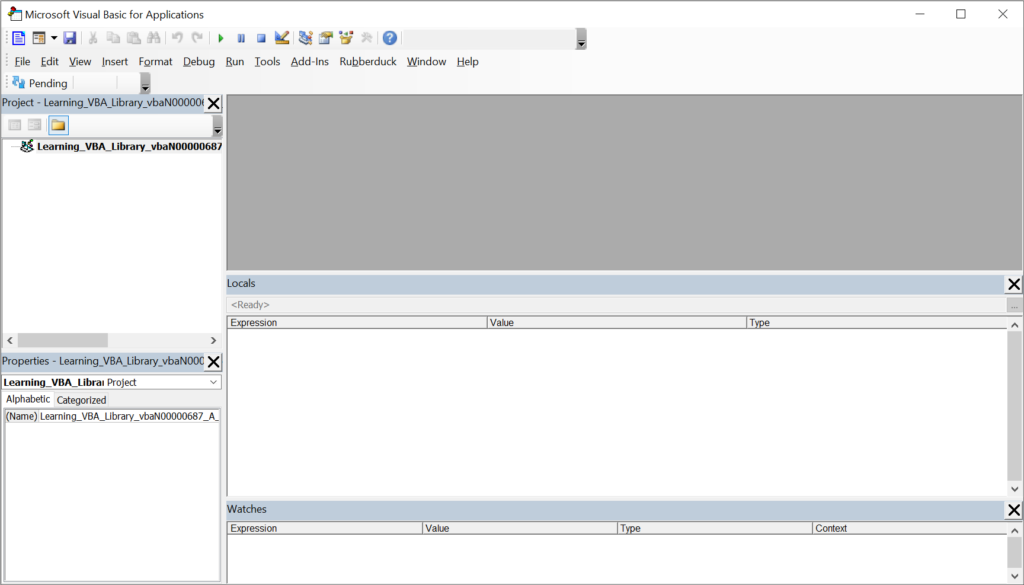
As we develop code we will explorer this IDE.
Modules
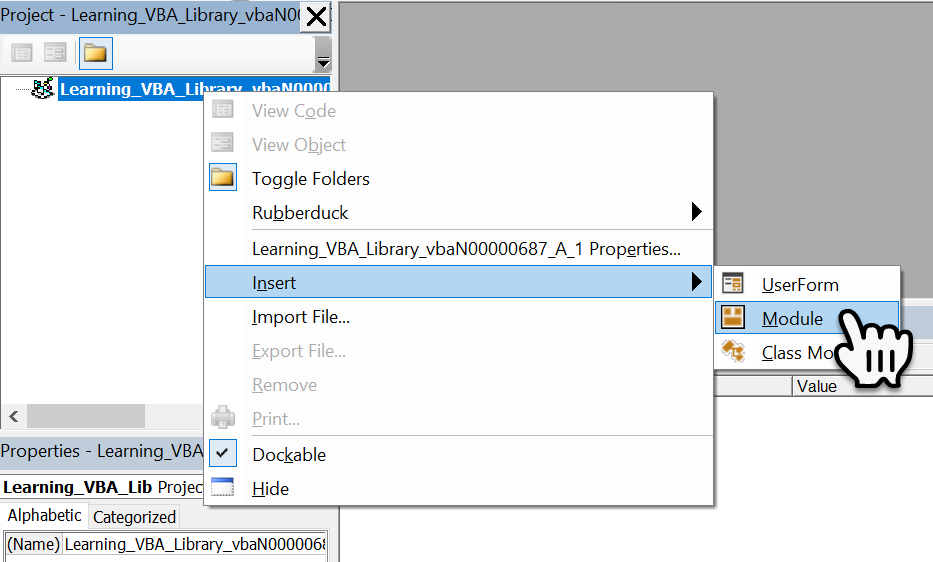
A Module is a block of code containing an entry point (CATMain() subroutine) and additional subroutines and functions. To create a new Module Right Mouse Click on the library and select Insert->Module from the secondary contextual menu.
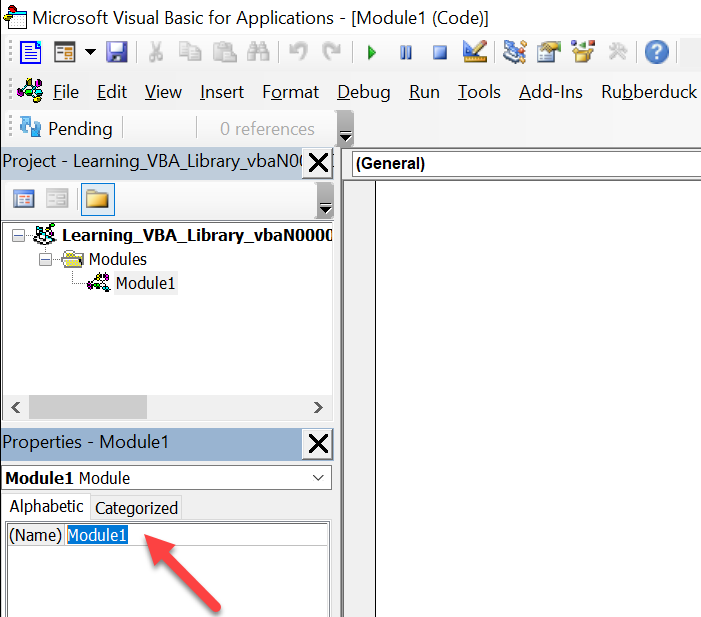
Within the Property’s panel we can rename the new Module, this name should reflect what your application is going to do.
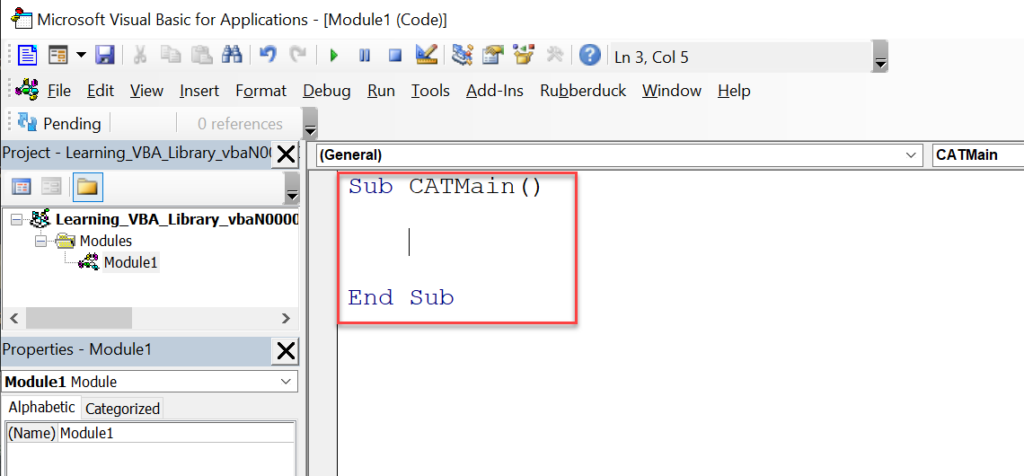
To get started we have to create the main Subroutine that CATIA will execute and it must be called CATMain. This is actually enough to execute, not that it will do anything.
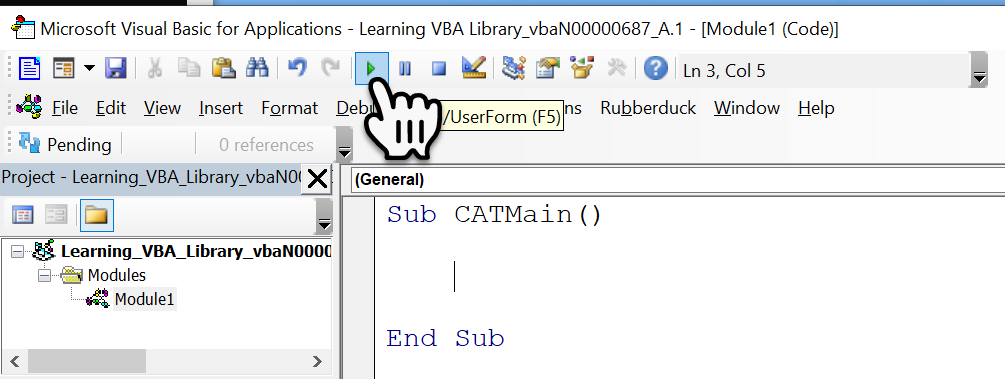
To run this code press the Green Play button.
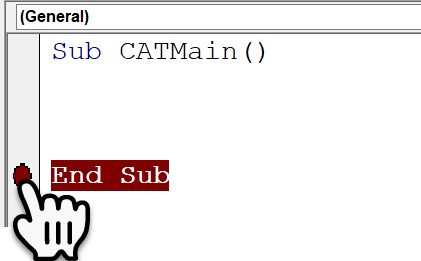
So how do we know anything actually happened? The IDE has the capability to pause the code and then to step through it. To do this Left Mouse Click in the vertical grey bar tot he left of the code window, next to the line of code that says End Sub. Notice how this line of Code is now highlighted Brown and a Brown Dot is shown in the left-hand column.
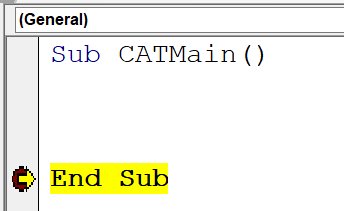
When the Code is Played, this line of Code will highlight Yellow, showing that the code execution has stopped at this line, this line of code has not been executed as of yet. The F8 key will advance forwards one line of code, in this case ending the execution.
The only two lines of code that you really have to remember are shown below, from here you can navigate the CATIA object hierarchy automating what ever task you want to do.
Sub CATMain()

    Dim ioCATIA As Application
    Set ioCATIA = CATIA

End Sub
If the code is re-executed we can now see the ioCATIA variable in the Locals window, this can be expanded to see the property’s (No Plus Symbol) and objects (Plus Symbol) below it.
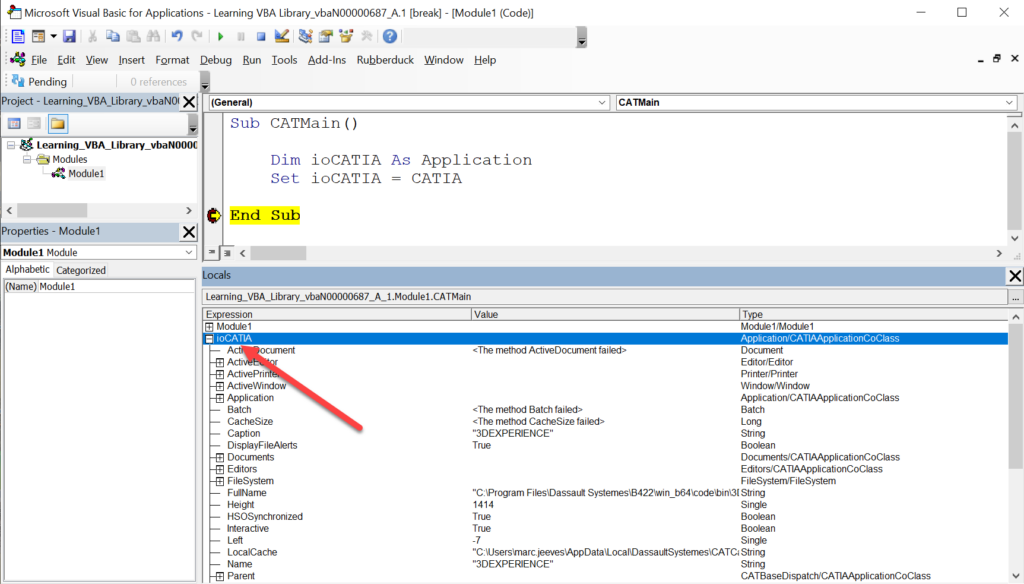
Within the CATIA installation you will find a .CHM file called DSYAutomation.chm “C:\Program Files\Dassault Systemes\B422\win_b64\code\bin\DSYAutomation.chm” This file contains the documentation for all of the available API’s that can be used with VBA plus a complete object hierarchy map that represents what were seeing in the Locals window when expanding out the ioCATIA object.
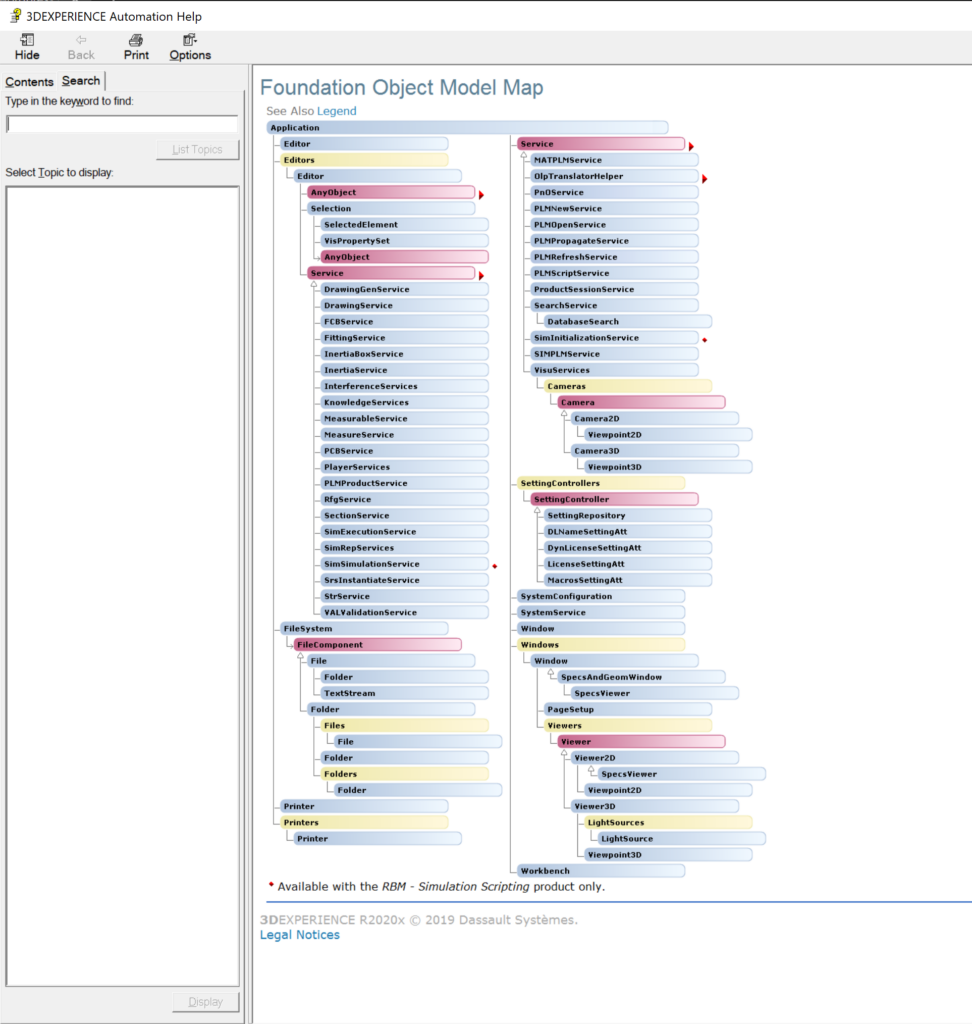
We will take more about this later on.
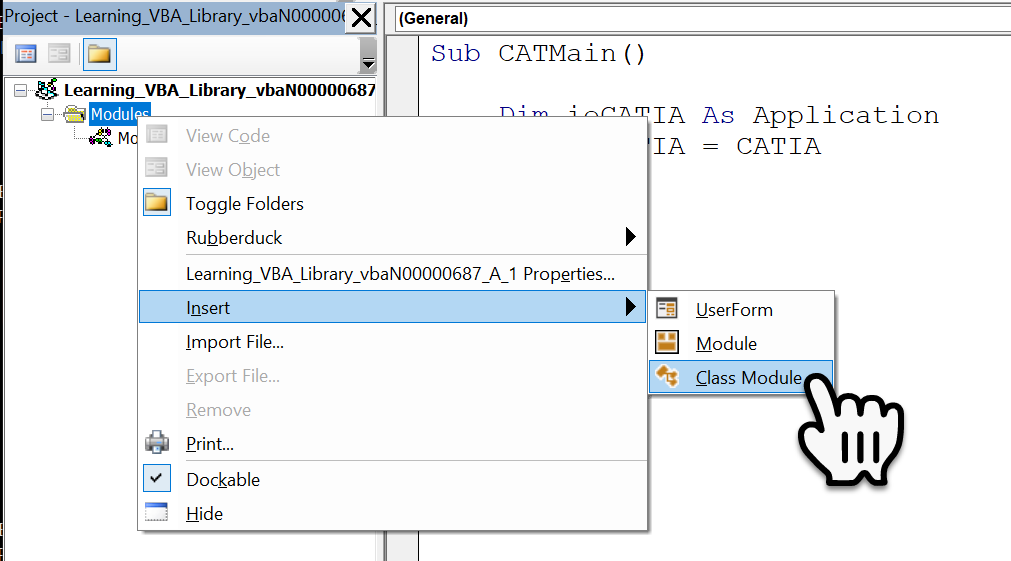
Class Module
There are fundamentally two ways you can write a VAB script, within a single Module or by objectifying and creating your own Object (Class) Structure similar to the found below the ioCATIA object. Where each Class (Object) has its own Property’s, Methods, Parent and Child Objects (Classes). To create a new Class Module Right Mouse Click on the library and select Insert->Class Module from the secondary contextual menu.
We will go into more detail about Class Modules within another post.
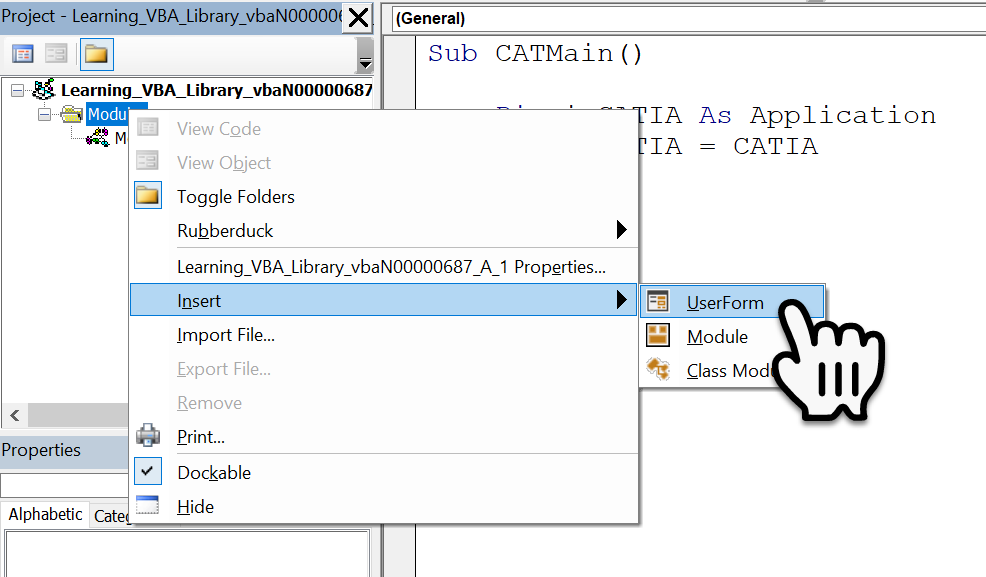
User Forms
User Forms allow us to create nice GUI’s ( Graphical User Interfaces) although the ones created in VBA are a bit outdated its still better than looking at command line interfaces. With a User Form we can create Buttons, Labels, Input boxes, etc..To create a new User Form Right Mouse Click on the library and select Insert->User Form from the secondary contextual menu.