
Table of Contents
Creating a Custom Word Add-in
In this series, I want to create a custom Word Add-In and then start to build a set of REST API that are deployed as AWS Lambda functions that will allow us to Save As New, Check-Out, Check-In, Save, Release, Revise, Search and Open a word document that utilizes the AWS S3 bucket as the storage medium. Of course we will also have to create a series of database tables to manage the life-cycle of the data, and build a WPF client side application to go along with it.
In this blog we will create the Custom Word Add-in and then the following blogs will focus on each function in turn until we have a fully functioning application.

Visual Studio Solution
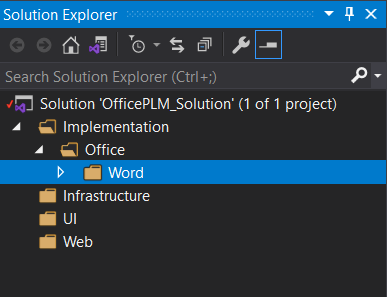
The first thing we need to do is create a new Visual Studio Solution and add the following Solution Folders. This may not be the final structure but its a good start.
Visual Studio Project
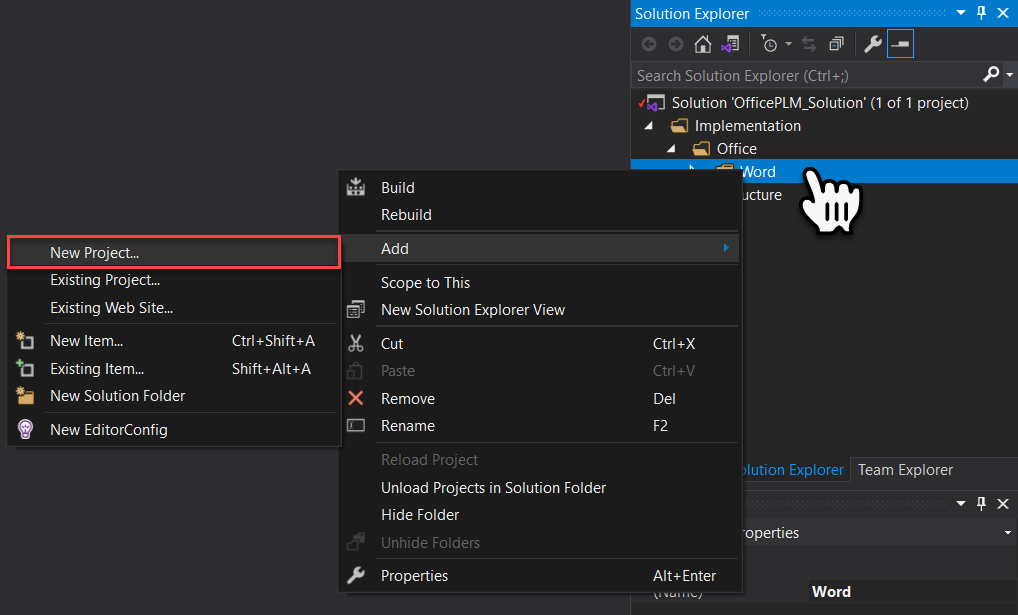
On the Word Solution Folder, Right Mouse click and select New Project from the secondary contextual menu.
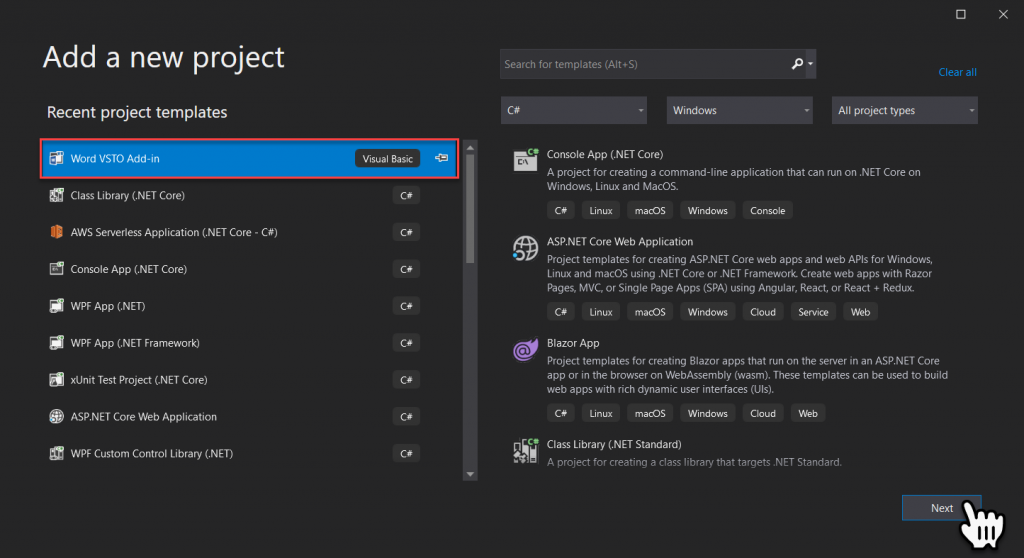
Select the Word VSTO Add-In project template and pick Next
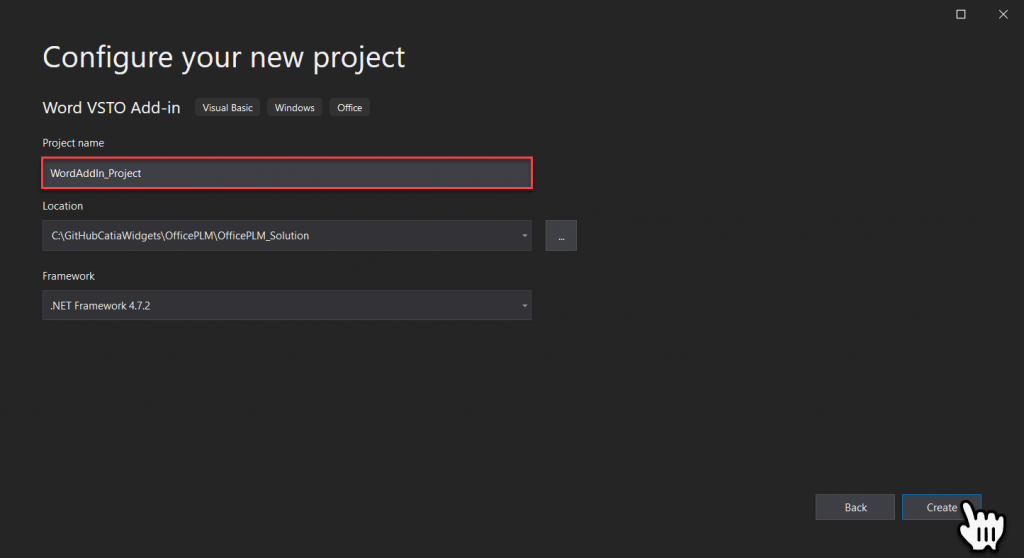
Within the Project Name field key in the name of the Project, and select Create.
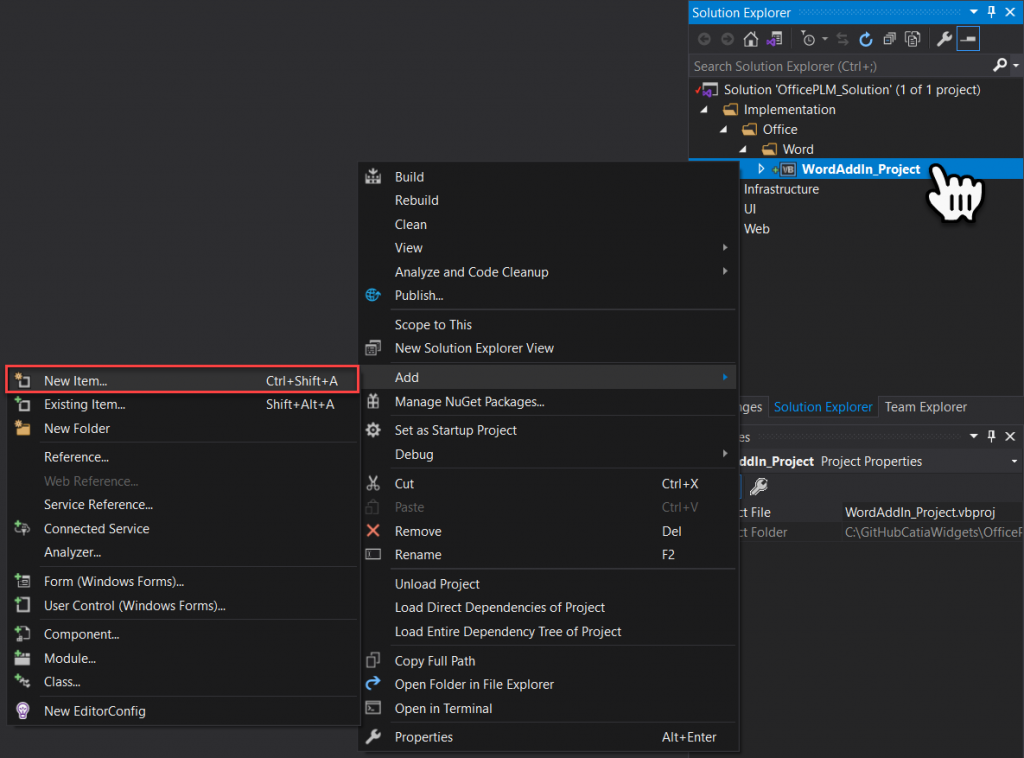
Next we will add the Ribbon (Visual Designer), to do this Right Mouse Click on the Project and select New Item… from the secondary contextual menu.
Select the Ribbon (Visual Designer) item template, then key in the name for the new item, and pick Add.

Editing the Ribbon Visual Designer
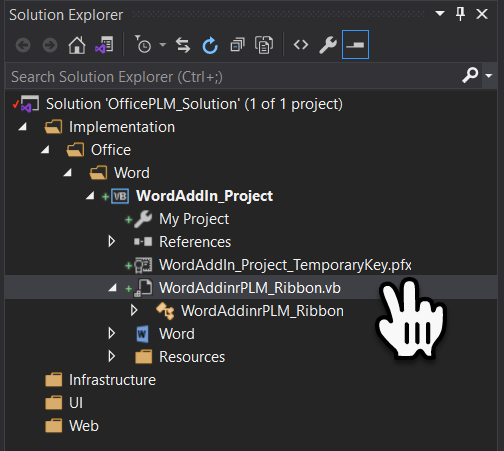
To open the Ribbon Visual Designer, expand the ‘WordAddin_Project’ and then double click on the WordAddinPLM_Ribbon.vb file.
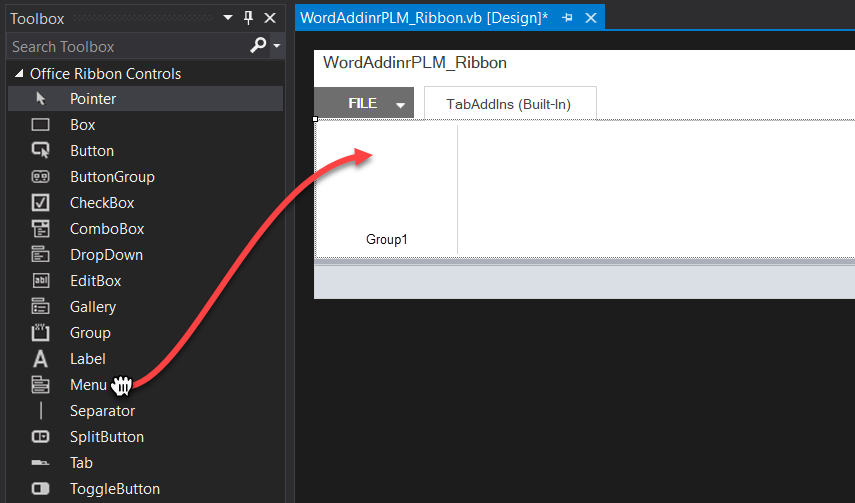
We can now ‘Drag and Drop’, Buttons and Menus into the ‘Group Box’, the first thing we will place into the Group Box will be a Menu.
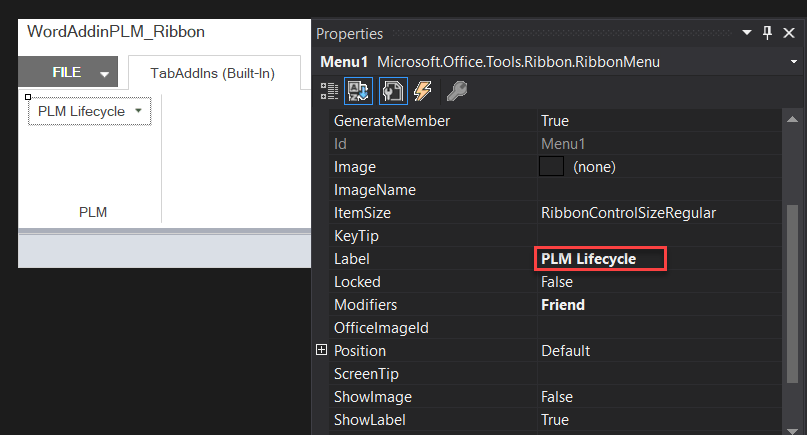
Now the Menu item is placed, we can change the Label property to ‘PLM Lifecycle’.
Next we will expand the PLM Lifecycle menu, so we can drop Buttons and Menus into it, by Selecting the ‘Black Arrow’.
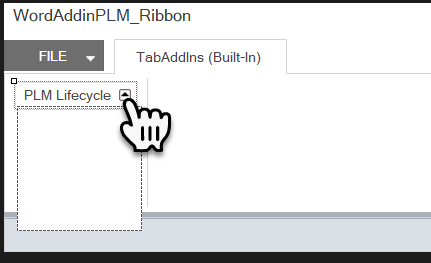
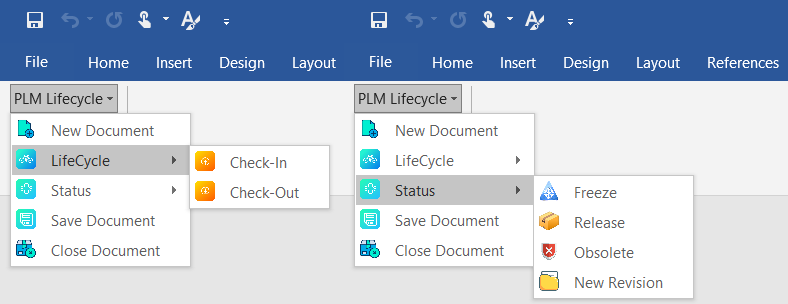
Repeat the process to add three Buttons and two Menu’s and rename them as shown below.
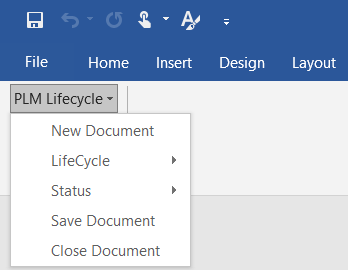
Then expand each of the menus adding the following buttons and again rename them.

Menu Images
Just to make it look a little prettier, I found a few images online for each of the menu items.

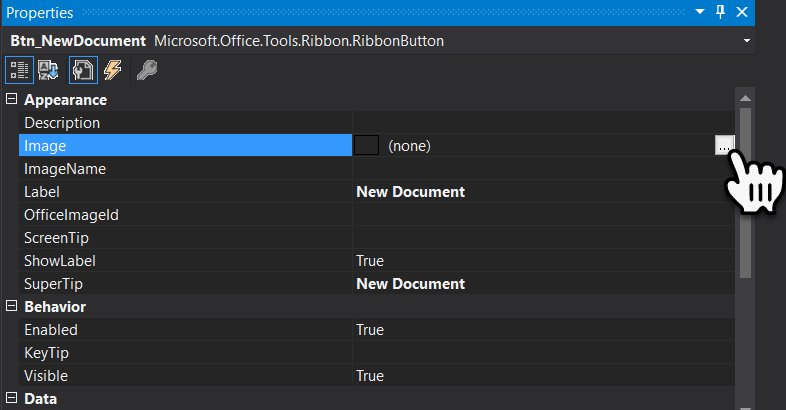
To add an image to a menu item, select one of the menu items and in the properties select Image…
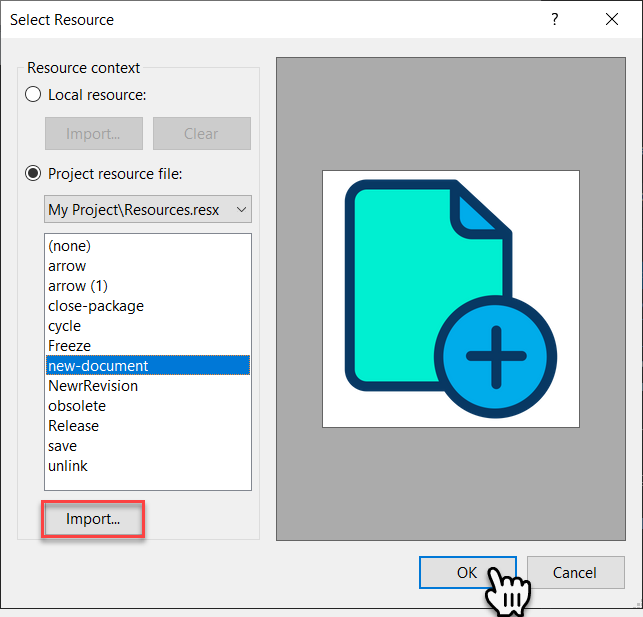
If you don’t have any image Resources, select the Import… which will open a Explorer window, where you can select an image to add to the resources. Once you have an Image Resource, you can select the resource and pick Ok.
You can now do this for all the menu items.
Button Handler Name
The last step we want to do is a little house keeping, by selecting each button we can change the Design -> Name

Once this is completed for all Buttons, double click on each button this will add the Handler to the underlying code.
Imports Microsoft.Office.Tools.Ribbon

Public Class WordAddinPLM_Ribbon

    Private Sub WordAddinrPLM_Ribbon_Load(ByVal sender As System.Object, ByVal e As RibbonUIEventArgs) Handles MyBase.Load

    End Sub

    Private Sub Btn_NewDocument_Click(sender As Object, e As RibbonControlEventArgs) Handles Btn_NewDocument.Click

    End Sub

    Private Sub Btn_SaveDocument_Click(sender As Object, e As RibbonControlEventArgs) Handles Btn_SaveDocument.Click

    End Sub

    Private Sub Btn_CloseDocument_Click(sender As Object, e As RibbonControlEventArgs) Handles Btn_CloseDocument.Click

    End Sub

    Private Sub Btn_CheckIn_Click(sender As Object, e As RibbonControlEventArgs) Handles Btn_CheckIn.Click

    End Sub

    Private Sub Btn_CheckOut_Click(sender As Object, e As RibbonControlEventArgs) Handles Btn_CheckOut.Click

    End Sub

    Private Sub Btn_Freeze_Click(sender As Object, e As RibbonControlEventArgs) Handles Btn_Freeze.Click

    End Sub

    Private Sub Btn_Release_Click(sender As Object, e As RibbonControlEventArgs) Handles Btn_Release.Click

    End Sub

    Private Sub Btn_Obsolete_Click(sender As Object, e As RibbonControlEventArgs) Handles Btn_Obsolete.Click

    End Sub

    Private Sub Btn_NewRevision_Click(sender As Object, e As RibbonControlEventArgs) Handles Btn_NewRevision.Click

    End Sub

    Private Sub WordAddinrPLM_Ribbon_Close(sender As Object, e As EventArgs) Handles Me.Close

    End Sub

End Class
Testing
Now we have setup the Ribbon Add-On select the Start button to start debugging, this will start an instance of Word.
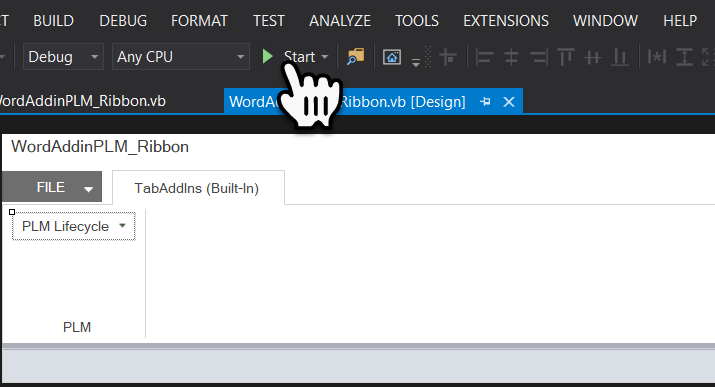
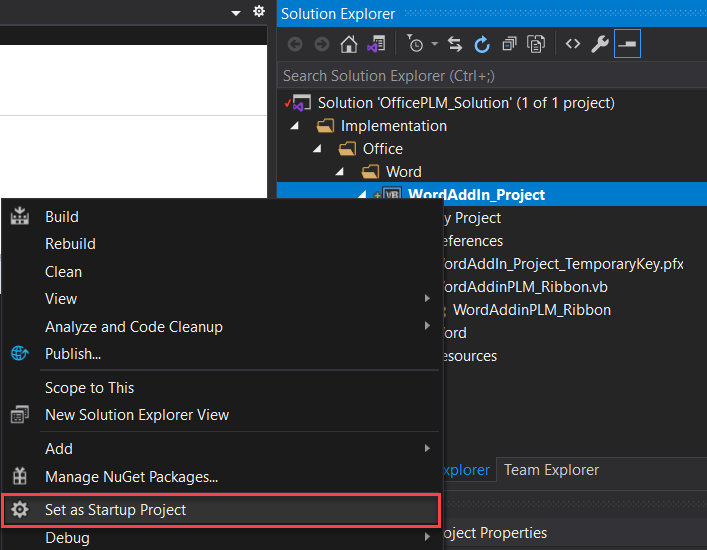
If Word does not start change the startup Project to the Word Add-in Project.
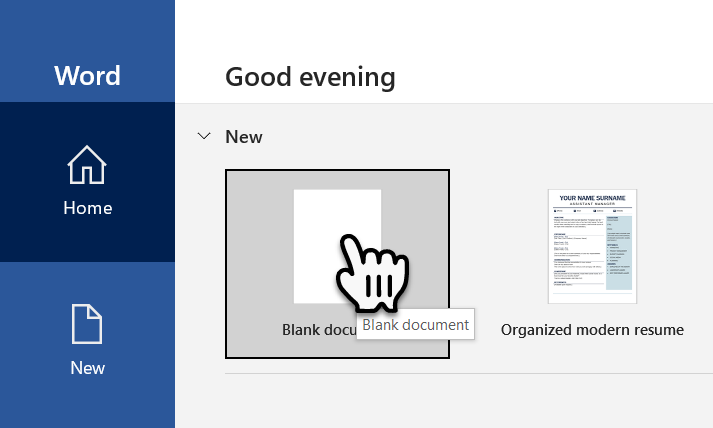
Once Word has started create a new Blank Document.
Change the active Ribbon tab to the Add-ins tab, we can now see our PLM Lifecycle Addin.
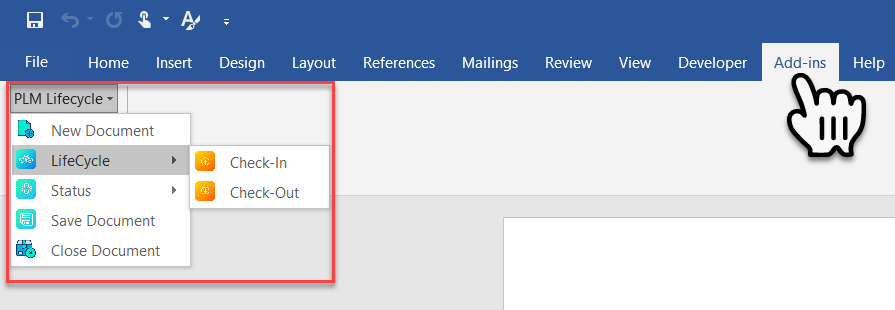
In a following Blog well start, to flesh out the rest of the project.